How to Make Wood Slice Christmas Ornaments
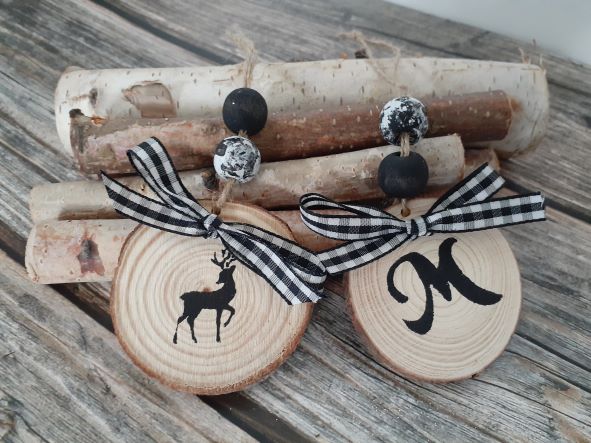
These quick and easy DIY wood slice Christmas ornaments make a great gift tag or a personalized addition to any gift. Since the farmhouse Christmas decor is trending, these wood slice ornaments used as gift tags will coordinate the wrapped gifts under your tree or hang on your tree. Tailor each ornament by stenciling the gift recipient’s initial on the front or get creative with reindeer, snowflakes, and other Christmas-themed stencils.

I love giving and receiving homemade Christmas gifts. There’s something about the uniqueness and added effort put into the gift that makes it extra special.
Let’s get started with this easy wood slice Christmas ornament DIY project.
Supply List:
- Wood slices
- 3/8-inch-wide ribbon
- Letter stencils
- Jute string (or other string like cotton baker’s twine or ribbon)
- Black acrylic paint
- 2 Wood beads (pre-painted or natural)
- Flat sponge brush
- Hot glue gun
- Sandpaper (fine grain)
- Hand drill with a bit (if your wood slices already have a hole for the string, you don’t need this)
How to Make a Wood Slice Christmas Ornament
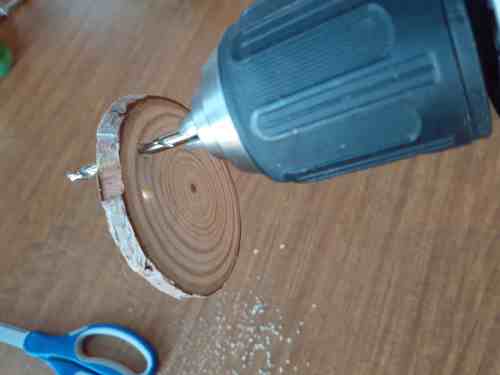
1. If your wood slice doesn’t have a hole drilled into the top for hanging, you will need to do this. Drill a hole large enough to thread the jute string through – I used a 9/64 drill bit. (You can purchase wood slices with the correct hole size on Amazon.)

2. Determine which side you want to be the front of the ornament and sand it down until the surface is smooth.
3. Cut a piece of jute string 10 inches in length. Thread the end through the hole in the ornament. Take both ends of the string and thread them through the wood beads. You can go with a natural look with raw wood beads or painted wood beads. Pre-painted wood beads can be found on Etsy or Amazon but painting them yourself is simple enough – and FUN! I have a post dedicated to painting wood beads with acrylic paint.
4. Once the beads are on the string, tie the ends into a knot.
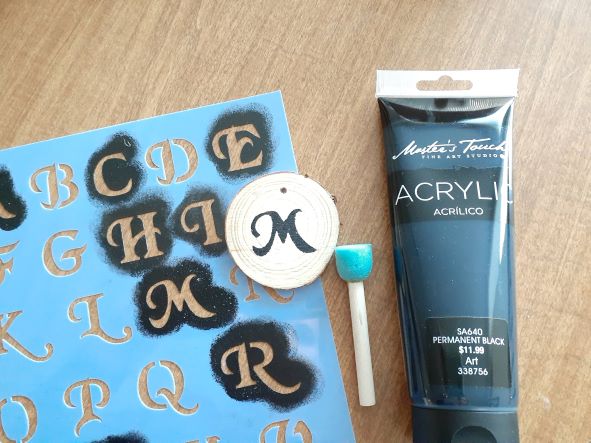
5. Using your letter stencil, flathead sponge brush, and black paint, stencil your chosen letter onto the wood ornament. Tip: I’ve learned that it’s best to dab the excess paint off the brush before applying it to the stencil. Too much paint on the sponge will cause it to accumulate under the edges of the stencil, causing a jagged-edged letter.

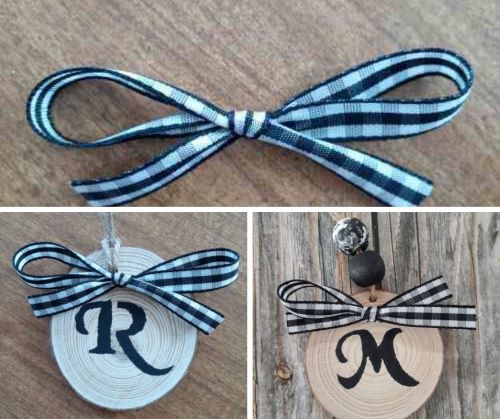
6. Set your ornament aside to dry and pull out your ribbon. Cut a piece approximately 11 inches long and tie it into a small bow. If it’s too big, make a smaller bow and trim the ends.
7. Once the ornament is dry, hot glue the bow to the top of the ornament just under the hole.

8. Gift one to each family member, friend, or child’s teacher or make a line of ornaments to decorate their trees (or yours!) using any Christmas stencil.

