How to Make a Wooden Book Stack for Valentine’s Day
You know those mini wooden book stacks we see in every home décor store? No tiered tray, fireplace mantle, or bookshelf is complete without one. I mean mini wooden book stacks are ADORABLE! So, I guess that’s why mini wooden book stacks are trending right now. They can add a farmhouse feel to any home.
They are also easy to make – or inexpensive to purchase if you prefer to skip the handcrafted part altogether – and can be rotated out with each holiday or season. But if you are like me and prefer that personal touch and find joy in crafting your own home décor, I’ll show you how to make your own mini wooden book stack for Valentine’s Day.
Repeat this process for other holidays to keep a rotation of mini wooden book stacks.

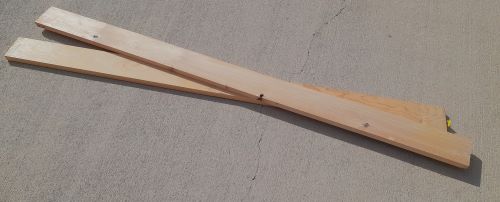
A few weeks ago, I stumbled on three pieces of wood while rummaging through my boxes in my garage. As with most random objects, I find lying around, I wondered what I could do with them. I’d wanted, for a while, to make some mini wooden book stacks but haven’t made it to Home Depot for some wood. I’d forgotten about these wood pieces in my garage. They originally held up the mattress of my son’s old bed. It just needed cutting down to the correct length.
Perfect timing, right?
Supplies:
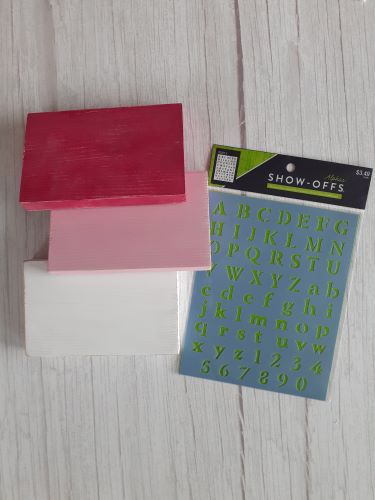
- 3 paint colors (I used Vintage Victorian, Laquer, and White Adirondack chalk paint – Folkart and Waverly brands)
- Sandpaper
- Scrap wood pieces 0.75 x 3.5
- Acrylic Gesso
- Paintbrush
- Jute string
- Hot glue gun
- Letter stencils
- Wood beads (optional)
How to make a mini wooden book stack for Valentine’s Day
I found several 0.75 x 3.5-inch wood boards lying around in my garage and used my miter saw to cut them into 5.5-inch blocks. Not everyone is comfortable using a saw (or has one readily available), so you can use wood scraps or purchase your wood from a home improvement store. Most home improvement stores will cut the wood for you – for a fee of course!
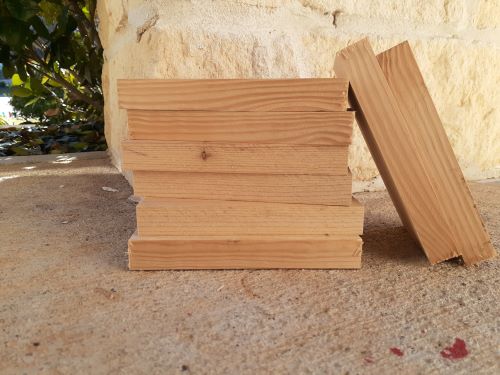
Sand all surfaces and edges of each block. Try rounding out the edges a little to give them a bookish feel when stacked.
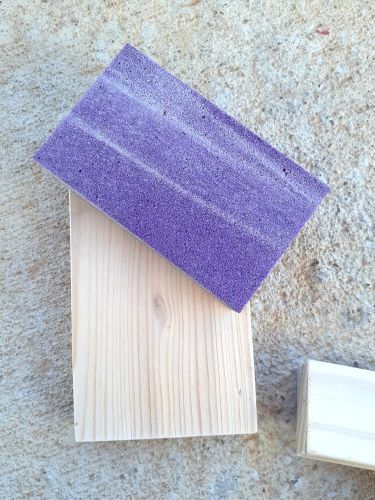
Paint each block with acrylic Gesso or you can substitute it with white acrylic paint. This will add a little rustic touch later and ensures one coat of chalk paint is enough. You can paint straight on the raw wood without a layer of Gesso first; it’s a matter of preference.
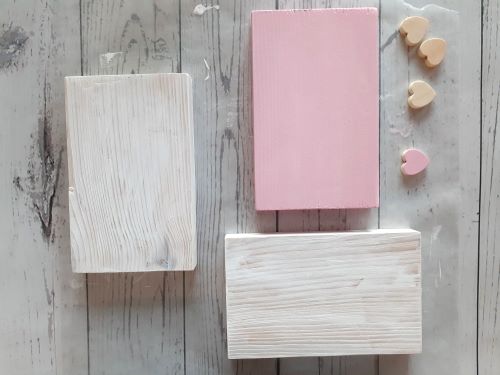
Next, paint each block with one chalk paint color. The Vintage Victorian pink I picked was too light when it dried. So, I mixed a small bit of Laquer with a tablespoon of pink. It really brightened it up a bit and matched the shade of pink I was looking for but couldn’t find in the store.
Don’t forget to paint your wood beads, too, if you have them. I found some cute heart-shaped wood beads at Hobby Lobby. Aren’t they adorable?!
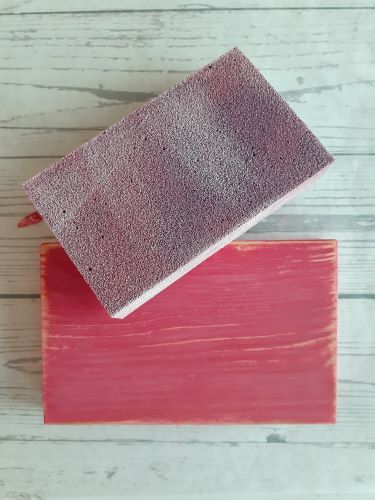
Once everything is dry, use sandpaper to ‘rough’ the blocks up a bit. I made a point to go over the edges and get the white Gesso to peek-a-boo through a smidge along with the wood.
Now is the fun part! Stand each book on one side and stencil your message onto the book spines. I decided to go for Hugs, Kisses, Love in the White Adirondack, and Laquer paints for my books.
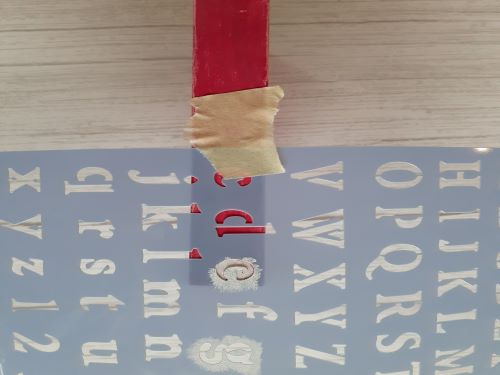
The stencil was hard to hold in place with one hand and the paintbrush in the other. I kept knocking over the wooden book. Masking tape or painter’s tape will come in handy to secure the stencil in place. Thankfully, I had a roll of masking tape lying around in our junk drawer.
Finally, stack your books! And wrap one end of the book stack with jute string. Use hot glue to secure the ends on the bottom of the stack. Try to avoid a blob of glue because your stack won’t sit flat. It doesn’t take much to secure it in place – I promise.
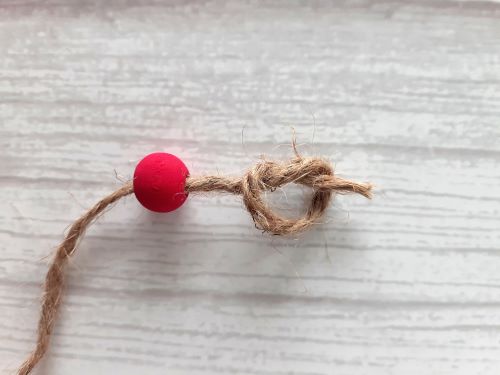
And for the final touch! Cut another piece of jute string. Tie it into a bow and string the beads onto each end. Glue it down on the top of the stack.
Voilà! You have a wooden book stack to add to your Valentine’s Day décor.

