DIY Wood Sign for Child’s Room with Crackle Medium
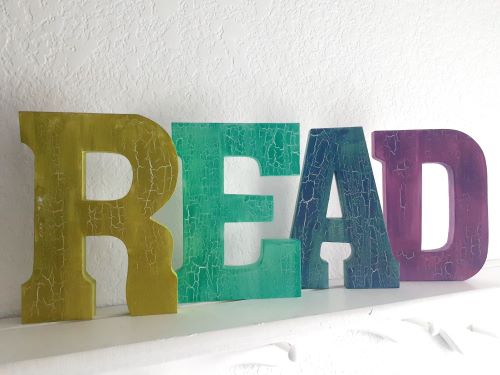
Are you looking to add fun to your child’s room or playroom? These two colorfully crafted DIY wood signs are perfect for any space. Today, I’ll show you how to create these charming READ wooden letter signs. Your kids will love it! Wood signs are a great way to add a little punch of color to their bookshelf. Or hang it on the wall!
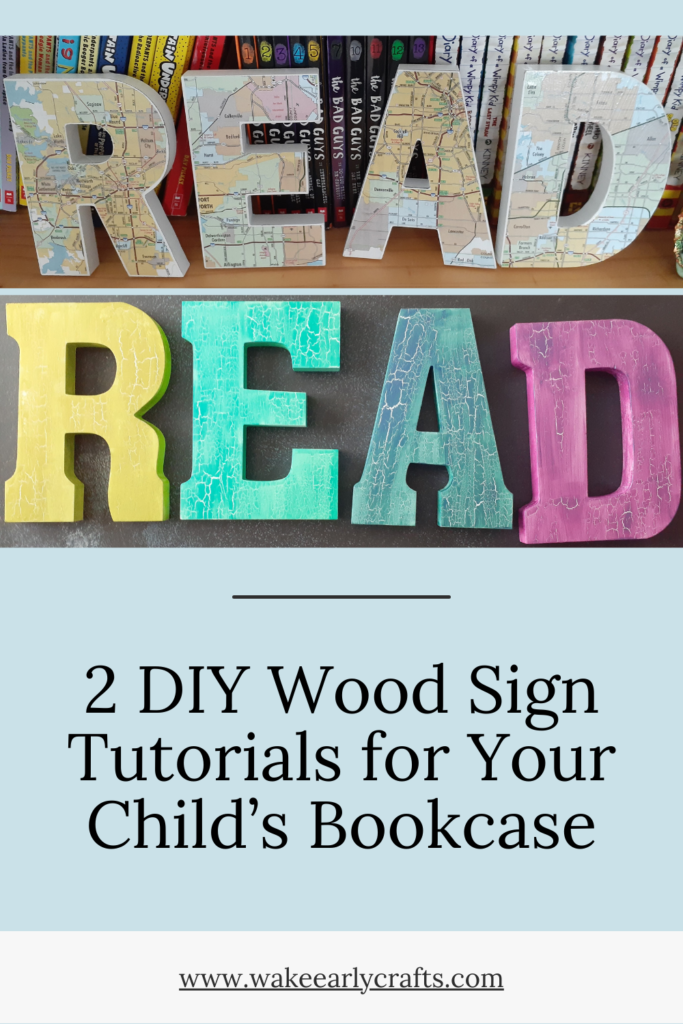
DIY Wood Sign with Crackle Medium
(If you are looking for the READ wood sign made with a road map, check out it out here.)
Shhh. I have something I need to get off my chest. I have a secret love affair with Crackle Medium.
Phew. There. I said it. But you must admit, adding a little texture to your project takes it to the next level. Usually, I use it to give an aging effect, but today, I decided to use it because I wanted to break up the colors and because I love Crackle Medium! Any excuse, I tell you! Any excuse.
Anyways, in our house, reading books is a big deal. Our kids read at least 30 minutes before bed at least. Reading is our go-to for riding in the car and downtime after a long day. But it’s also a hobby we all share.
My daughter has a long white shelf on her bedroom wall. It’s bare. She has enough surface area between the dresser and desk for her trinkets. So, I dressed it up with a DIY wood letter sign spelling READ.
It’s a splash of color sitting on a bland shelf against a wall. And I let her choose the colors.
Let’s start with what you need for this project.
SUPPLIES
- Large wood letters
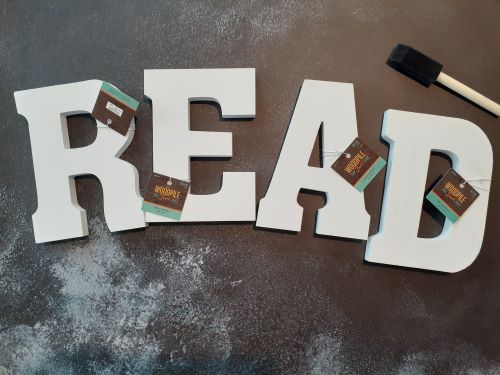
- White acrylic paint for the base coat (Hobby Lobby sells letters that are already white. That’s what I used.)
- Crackle Medium
- Acrylic paint (My daughter chose four metallic colors. Just be sure it contrasts well with the white base coat.)
- Paintbrush
- Foam brush
Preparing your Materials
Step 1: Gather your materials. If you purchased raw wood letters (without a base color already on it like mine), you will need to paint the letters white before continuing the rest of the project.
Step 2: Check your Crackle Medium. If it sat too long on a shelf, it may have separated. Shake it up well.
Painting Your Letters
Step 1: If you need the white base coat, start there. If not, skip to the next step. Paint each letter white and allow them to dry completely before moving on. It might take a few hours.
Step 2: Time for the Crackle! With a paintbrush, paint the face surface of each letter with the Crackle Medium. Avoid laying down a thick layer; make it as thin as possible. Just be sure it does coat every part of the surface.
Crackle Medium dries quickly, and smearing sticky Crackle Medium will ruin the final look. So spread it quickly!
(I preferred the sides to remain white and paint only the front, but my daughter wanted the entire letter painted. Her room so her choice!)
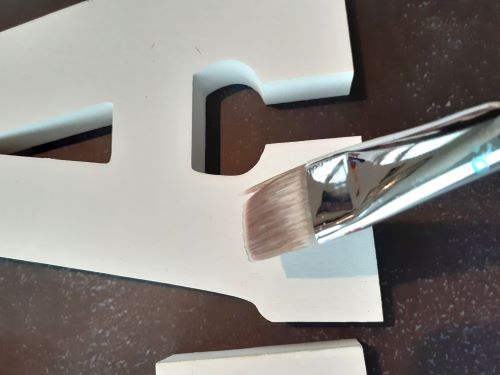
Step 3: You must be sure your Crackle Medium has dried completely. The directions on the bottle say around an hour. I recommend leaving it for a few hours, especially in areas with high humidity.
When it’s dry, use the foam brush (or paintbrush if you prefer) to paint the topcoat. Whatever you do, don’t use white. You won’t see the cracks. The more the topcoat contrasts with white, the better. I’d stay away from pastels and other light and airy colors. Crackle Medium craves bold colors!
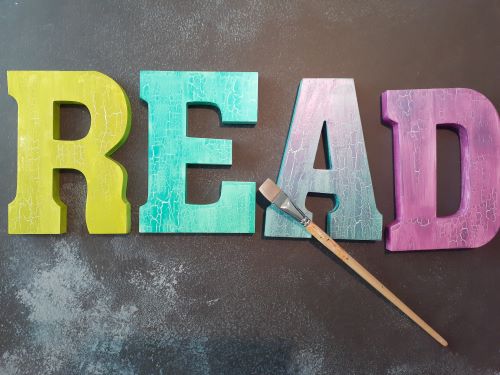
Step 4: Let the topcoat dry for a few hours and place it on a bookshelf. It adds a nice pop of color to your child’s room or playroom!
I also created a READ wood sign with a road map for my son. If you want to learn how to create this one, check out the post here!

One Comment
Comments are closed.