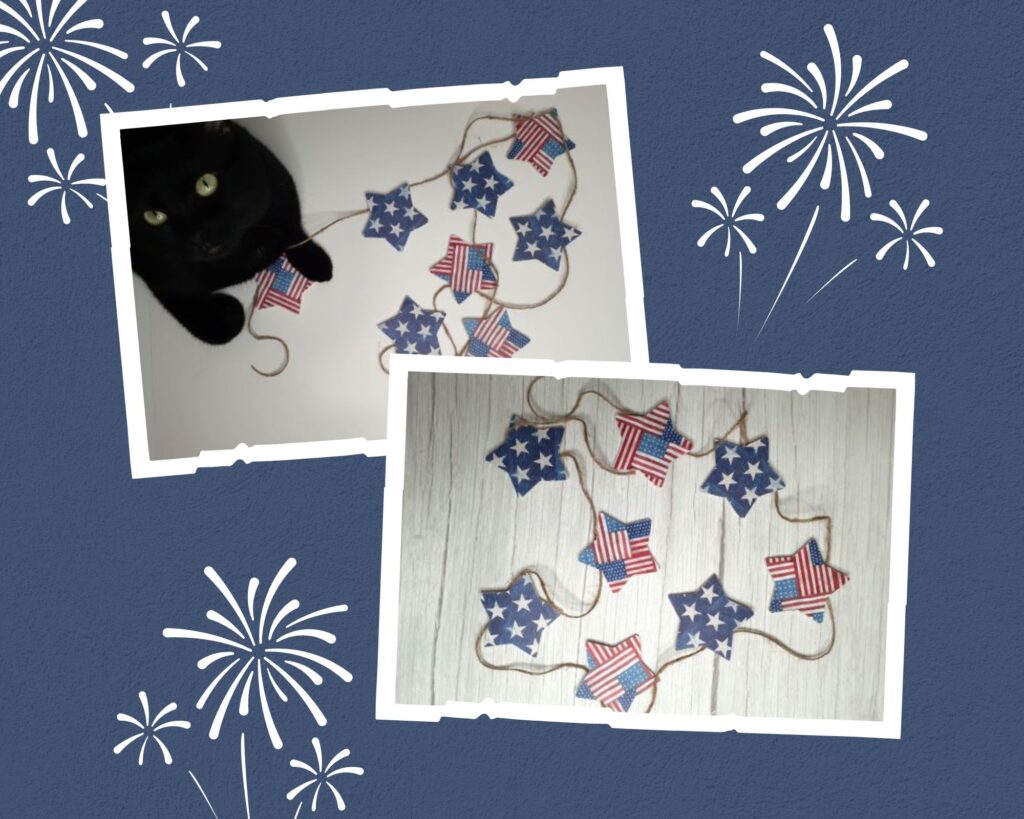
How to Make a July 4th Wooden Star Garland
With this wooden star garland, I’m getting a head start on July 4th crafts and décor. It’s an easy and inexpensive project perfect for adding a few stars and stripes to any July 4th (or Memorial Day) backyard cookout. Hang it on your fence line, or decorate the food table. This wooden star garland is simple to make and versatile. Leave it as is, or dress it with tassels or yarn pom poms between the stars.
Today, I’ll show you how to make a wooden star garland for a 4th of July party.
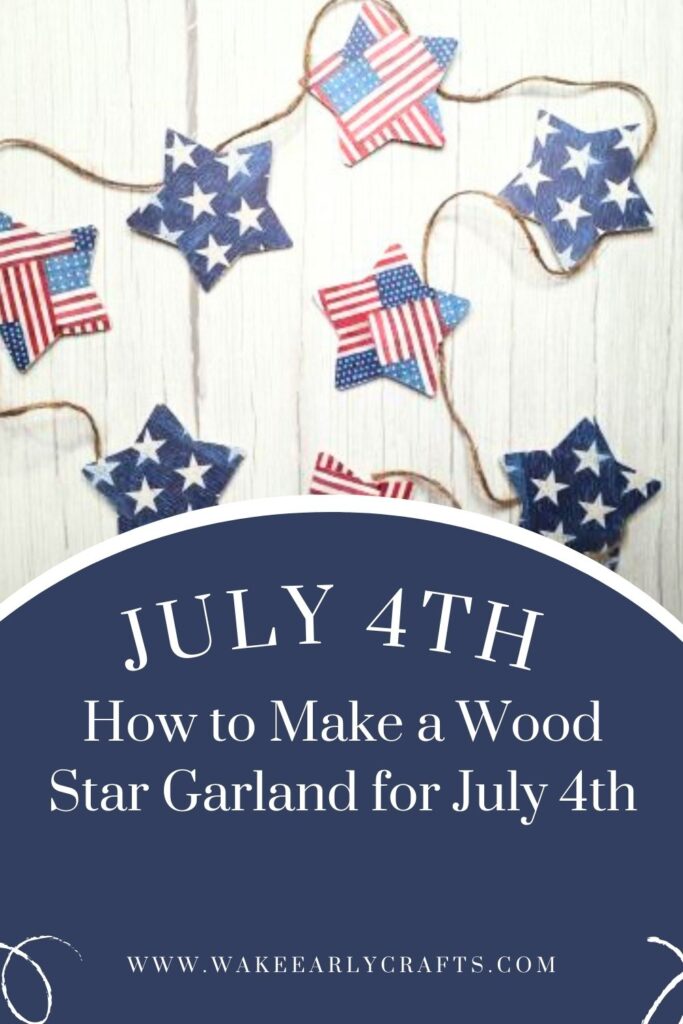
Supplies
- Wooden stars
- Two pages of scrapbook paper (I used two patterns)
- Mod Podge
- Foam brush
- Scissors or paper cutter
- Exacto knife
- Jute string (or other durable string)
- Hot glue gun
Time to Make Our Wooden Star Garland!
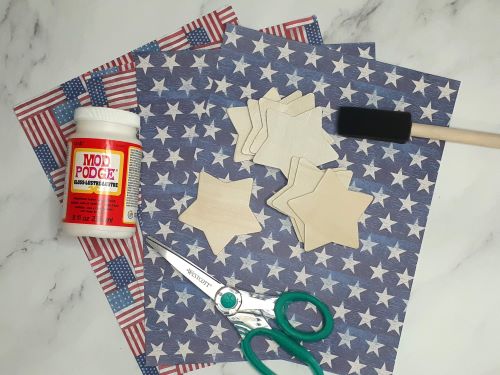
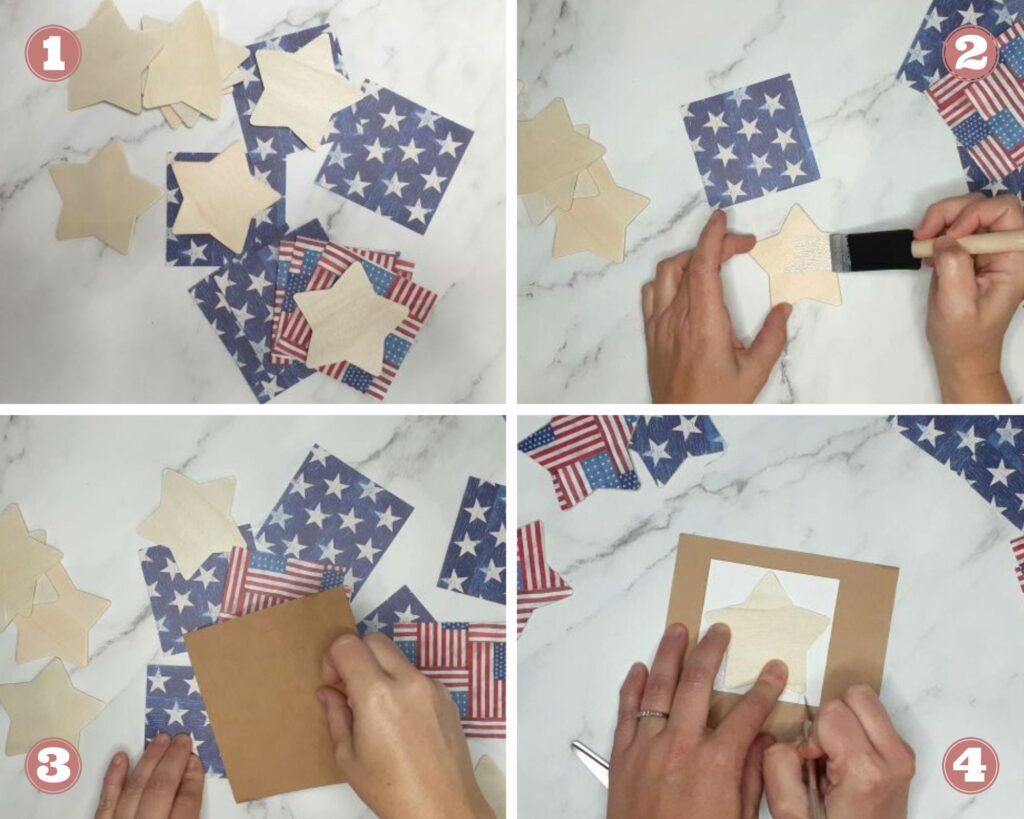
Step 1: Cut the paper to fit the wooden stars.
I bought 2 pages of each pattern but only used 1 page of each pattern.
First, measure your stars and cut the paper to fit. My stars measured 3 inches from tip to tip, but I added an extra ¼ inch to each paper square I cut just to be safe. So, each piece of paper measured 3 ¼ in by 3 ¼ in.
If you have two patterns like me, be sure you cut an even amount of each. That way, you can alternate between the patterns on the garland.
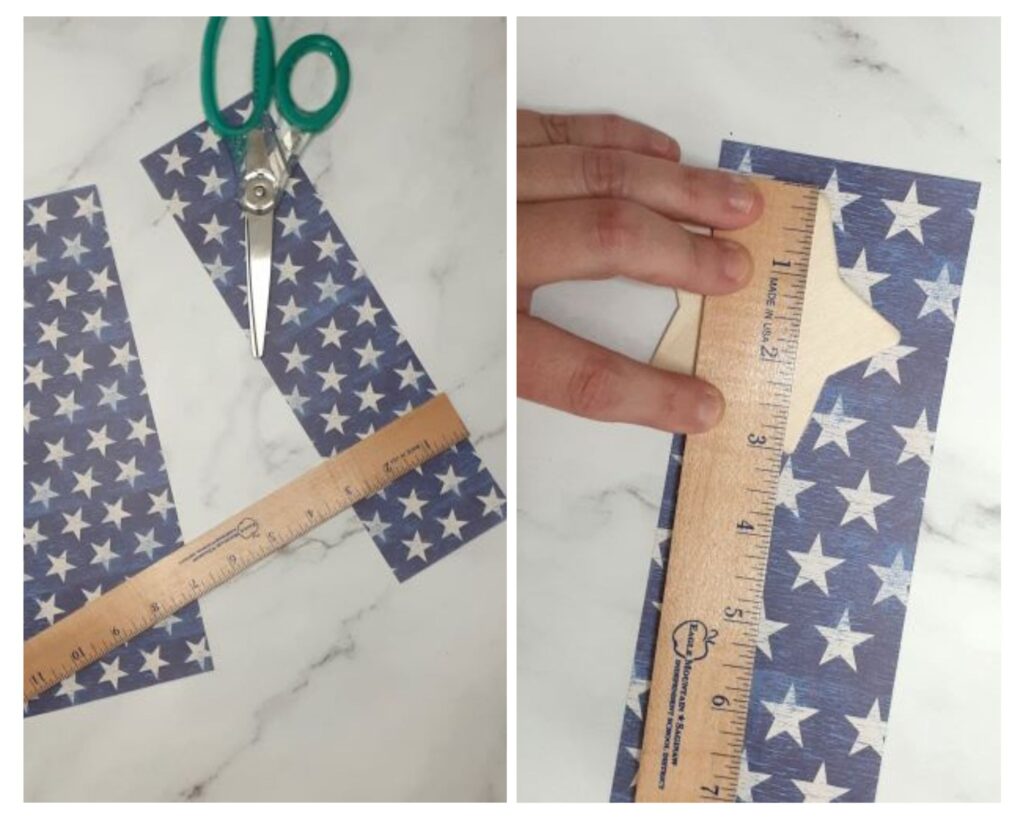
Step 2: Glue each paper square onto a wooden star.
Next, brush some Mod Podge on a wooden star with the foam brush [photo 2 below]. Afterwards, glue a paper piece you cut earlier onto the star. Be sure to be quick. Mod Podge dries fast.
TIP: Use the edge of a credit card or firm piece of cardboard to rub out the bubbles under the paper as the Mod Podge dries [photo 3 below].
Step 3: Cut the excess paper off your stars.
After the stars have all been covered with paper and the Mod Podge dried, it’s time to trim off the excess paper [photo 4 above]. I tried to use scissors for this, but I couldn’t cut it cleanly. So, out pulled out my trusty Exacto knife (I love my Exacto knife).
Carefully trim off the excess paper, and try not to trim off slivers of wood. I did this a few times because I was a little too aggressive with my Exacto knife – what does that say about me?
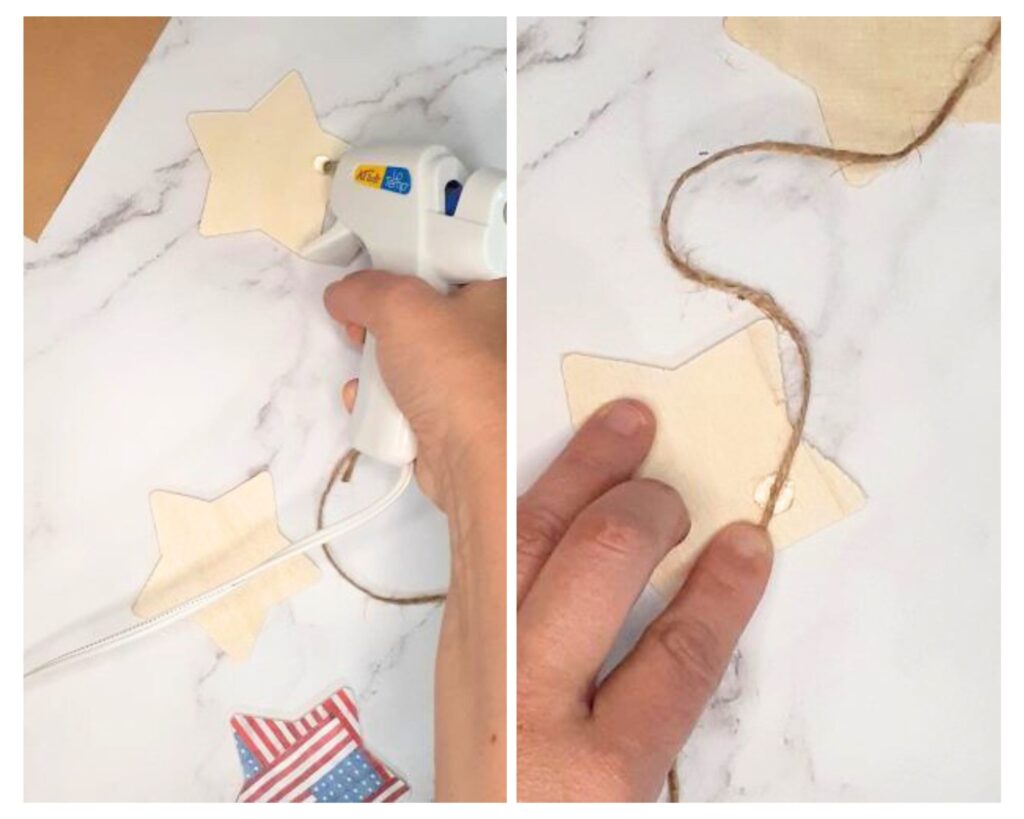
Step 4: Glue your stars to the jute string.
Once all the excess paper is trimmed from your stars, you need to figure out how far apart you want them on the jute string. I gave myself a little extra room because I’m still contemplating adding yarn pom poms. (Decisions, decisions!)
Turn your stars over with the backside facing up. It’s important that you stack or lay them in the order you want them on your string. You don’t want to mix up the patterned paper.
Then, use the hot glue gun to glue the string to the back of each star – be sure you measure before gluing the string down. My stars are glued 7 inches apart.
Step 5: Find a spot to hang it!
After the hot glue dries, find a good spot to hang it. You can hang it from a mantel, bookshelf, or fence line for an outdoor party. Lay it on the food table as part of a centerpiece, or tape it around the edge of the food table – the possibilities are endless!
P.S. Please forgive my cat, Jelly. She thinks she’s my little helper.
