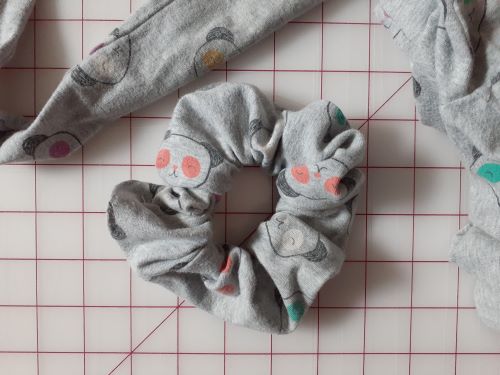
How to Make a Scrunchie Using the Burrito Method
Making scrunchies is an easy way to get rid of larger scrap fabric pieces. It’s also a throw back to my childhood – ah, the nostalgia. As a child of the ’80s, I often wore my hair in a high-side ponytail with a fluorescent scrunchie! Scrunchies were everywhere in the ’80s. But it’s no wonder with all their benefits. They are more comfortable – less likely to pull your hair out – than a regular hair tie. And you can buy them in any fabric, color, or style. Comfortable and stylish!
Although the scrunchie ‘fad’ eventually faded, I’ve noticed a little comeback when shopping for my daughter. Scrunchies are still hanging around.

I decided to dive into scrunchie-making as my daughter’s ruined legging pile grew. She is obsessed with wearing leggings. The only problem is she wears holes in her knees so quickly. So, all this perfect fabric would end up in a trash pile somewhere. Nope! Not on my watch!
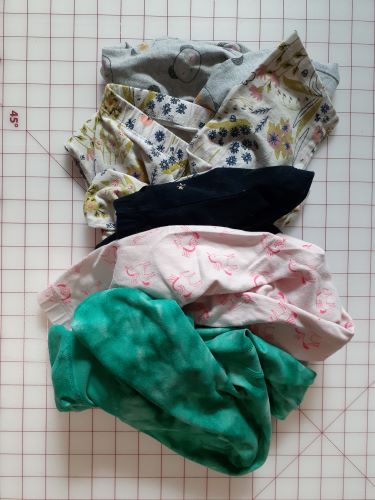
My daughter is an active girl. She runs around playgrounds, climbs trees, plays soccer in the street with the neighborhood boys, and does gymnastics. All this activity means tangles, so I’ve had to untangle hair bands on a crying girl’s head a few times.
Besides, we can’t keep hair ties around my house. Jelly, our black cat, likes to hunt them down and play with them. She’s figured out how to open drawers and dig around in my purse to find them. (Naughty kitty! If you’ve read a few of my past posts, you’ve probably seen her photo-bombing my process pictures.)
Scrunchies can’t be batted under furniture or doors.
So, let’s make some scrunchies.
Supplies
- 1 piece of fabric (5′′ x 20-25′′)
- 1 piece of ¼′′ elastic 10′′ long
- Safety pin
- Sewing machine
- scissors
- ruler
How to Make a Scrunchie with the Burrito Method
Step 1: Prepare your materials
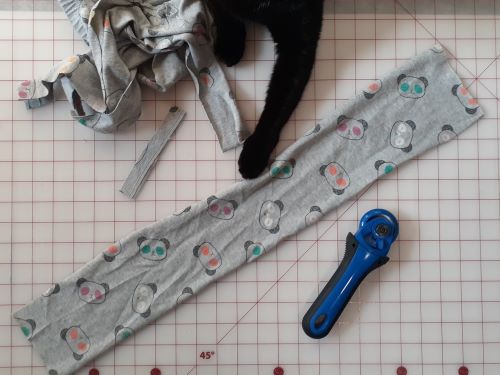
Start off by cutting your fabric down to a 5′′ to 25′′ inch strip. Since I was using my daughter’s “holey” leggings, I was at the mercy of her leg length, so my strips were anywhere from 20” to 24′′. Obviously the longer your fabric strip, the more ruffly your scrunchie will be.
Next, cut a 10′′ piece of ¼′′ wide elastic and set it aside for now. (She photo-bombed me again. Please ignore the cat paws in my picture.)
Step 2: Make a loop with your strip
First, align the short ends of the fabric – right sides facing each other. Use needles or sewing clips to hold it together. (I couldn’t find either of them because I’m reorganizing my craft room so I free-handed it.)
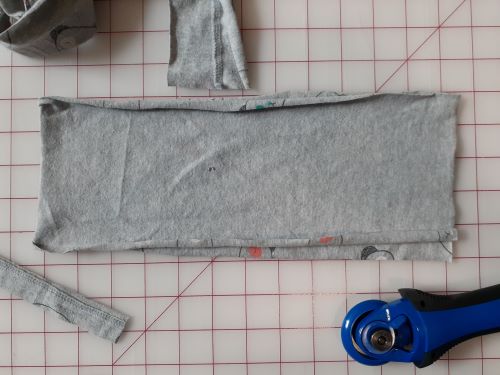
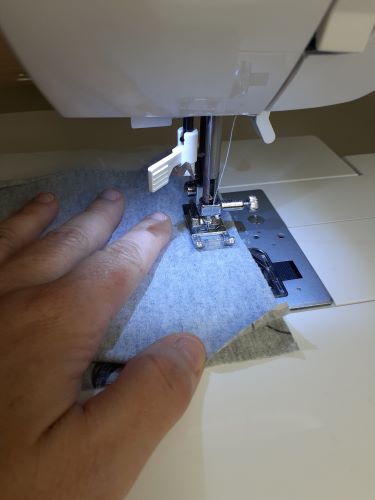
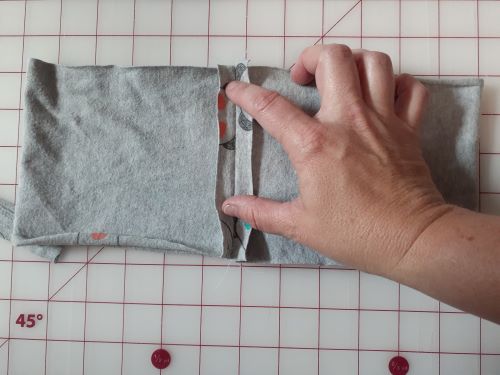
Sew the short ends together using a ½′′ seam. Be sure you press the seam open before moving to the next step.
Step 3: Fold up your “burrito”
Next, lay your loop down with the freshly pressed seam open. Bunch up or ‘pinch’ the top layer together.
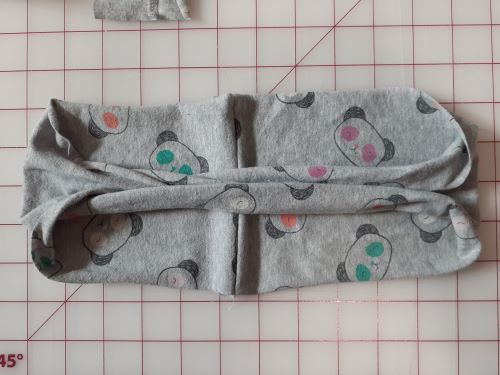
After you’ve bunched up the top layer, take the bottom layer – from the middle of the long edge – and pull it OVER the bunched up top layer. The bottom layer’s top and bottom edges should be lined up.
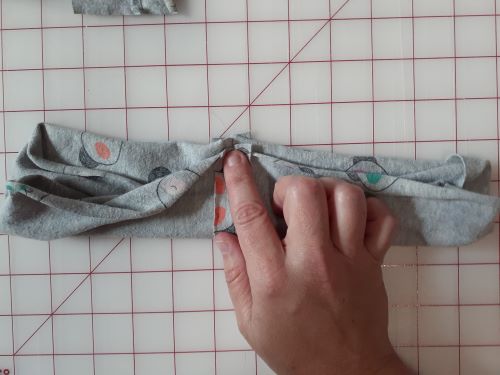
Step 4: Sew your scrunchie together
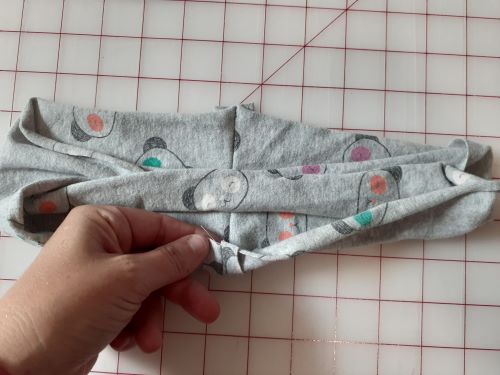
Start off by ensuring the long edges of the bottom layer are aligned and the bunched up top layer is not in the way!
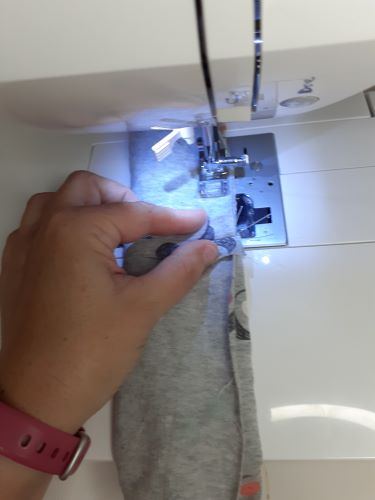
Sew down the long edges using a ½′′ seam being careful not to sew the bunched-up fabric in the middle. Once you get close to the end, stop sewing but do not remove the scrunchie from the machine. Instead, using two fingers, reach into the scrunchie and pinch the bunched-up fabric in the middle.
Carefully, pull some of the bunched-up fabric out.
TIP: Leave the sewing needle and foot in the down position to hold the seam in place while tugging on the bunched-up fabric.
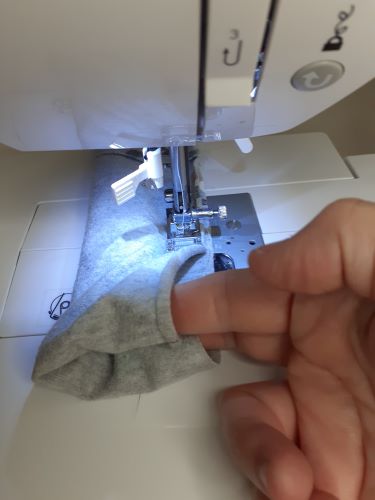
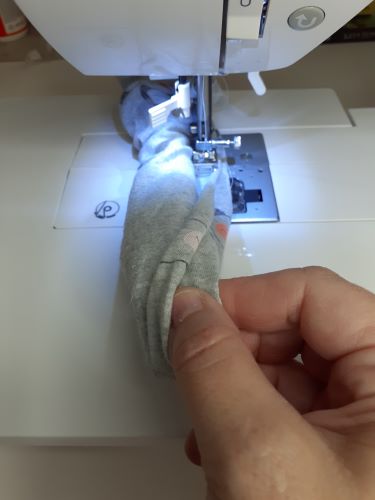
Line up the fabric and continue to sew along the long edge.
Be sure you leave a 1-inch opening in the seam.
Step 5: Insert the elastic piece into the scrunchie
Your scrunchie should, at this point in the process, look like an inside-out tube.
Put the safety pin on one end of the elastic.
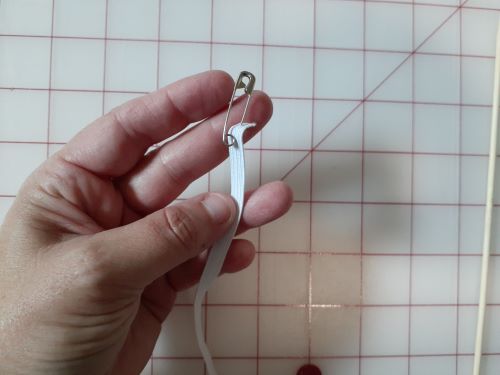
Next, thread the elastic through the inside-out scrunchie tube.
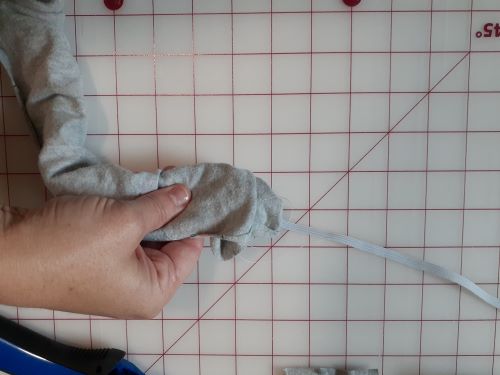
It should look like this now:
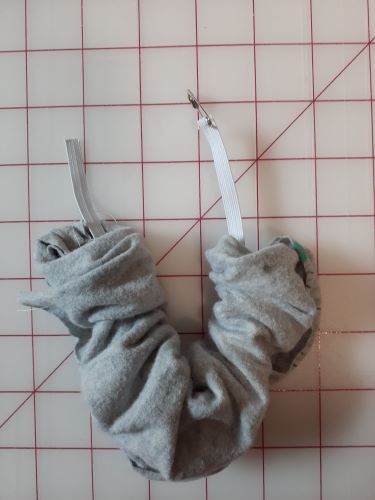
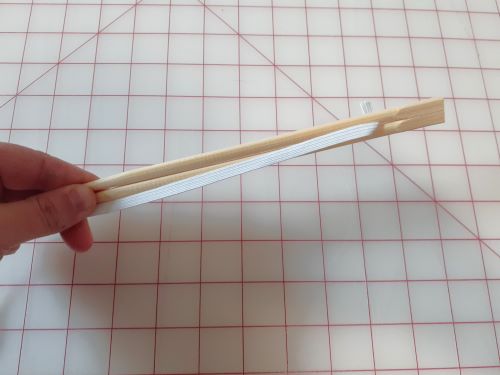
TIP: If you have a set of wooden chopsticks, you can wedge one end of the elastic between the two chopsticks. Then use the chopsticks to push the elastic through the tube. This is quicker than using a safety pin. (Pictured below.)
Step 6: Tie the elastic together
Be sure to remove the safety pin before tying the two ends of the elastic piece together. You can leave up to a ½′′ tail on the knot. It’s personal preference on how tight you want the scrunchie.
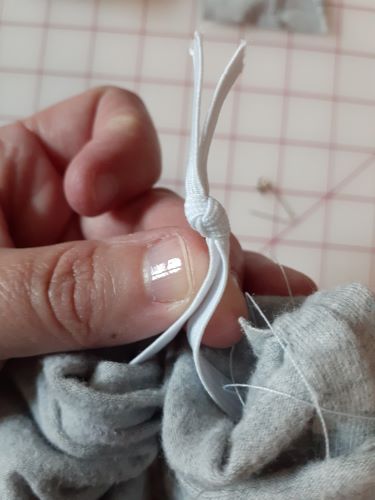
Step 7: Finish your scrunchie!
After the elastic is tied tight, hunt for that pesky one inch opening you left on the seam. It’s hard to find! Now, using the one-inch hole, turn your scrunchie right-side out – elastic and all.
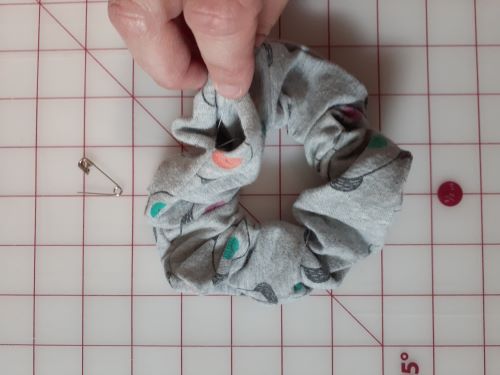
Next, you need to close that one-inch hole and can do it in one of two ways:
- Hand sew it with a ladder stitch
- Sew a seam close to the edge using the sewing machine
Since I’m using my daughter’s roughed up – but freshly laundered – leggings, I used the sewing machine. If you’d like to hand sew, here is a great YouTube video to walk you through it.
Next, fold the fabric edges inward along the one-inch opening. Press them down using an iron to keep them folded.
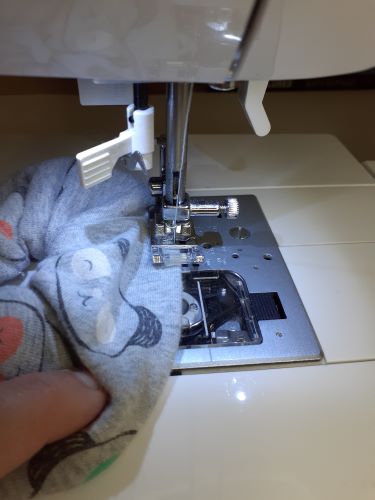
Using the sewing machine, sew along the opening as close to the edge as possible. I recommend using a thread color that blends into the fabric.
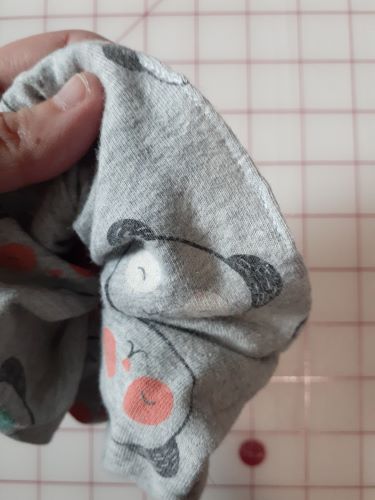
All done! My daughter has a full stack of them, and I don’t worry if she loses them. Those leggings would have ended up in the trash anyways.
