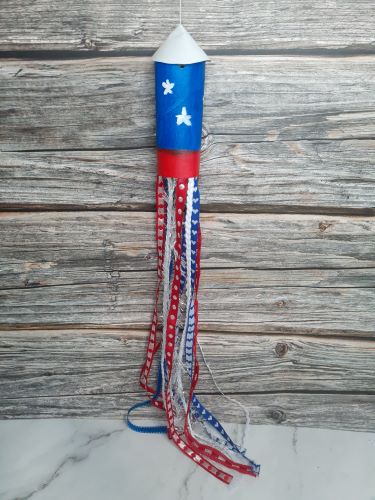
How to Make a 4th of July Rocket – Craft for Kids
Are you planning a backyard cookout for the 4th of July? Keep your children busy with this inexpensive and easy toilet paper roll rocket craft for kids. Not only does it keep little hands busy, but it makes a great DIY 4th of July decoration. Your kids will have a blast hanging these star-spangled rockets from your tree branches, around the patio, yard fence, or inside the house.
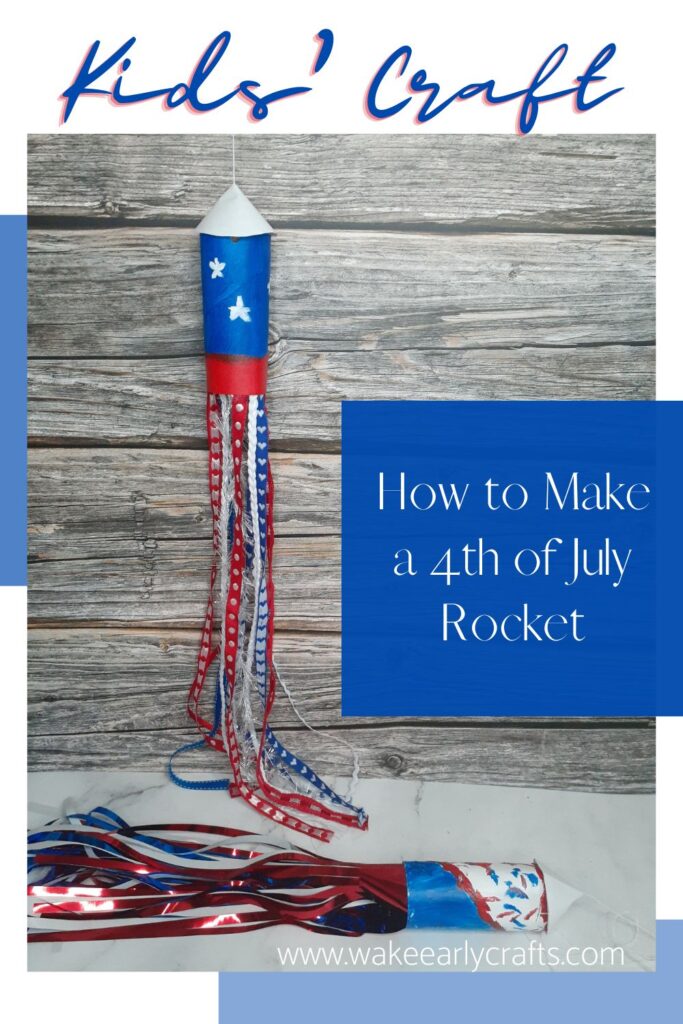
With this 4th of July kids craft, the whole family can get involved with the celebration. And the best part? The supplies are so easy to come by. Just don’t forget to save those empty toilet paper rolls – don’t throw them out!
Don’t forget to print off these free July 4th kids word search and scavenger hunt activities for added fun!
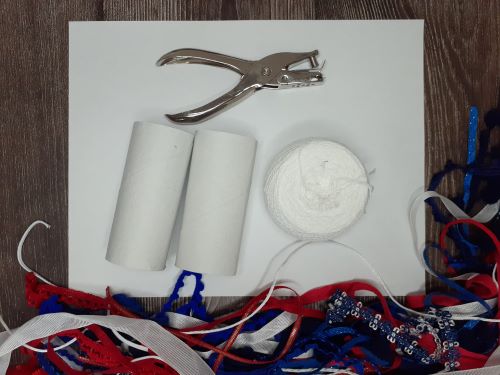
Supplies
- Empty toilet paper roll
- scissors
- sheet of printer paper (or scrapbook paper)
- assorted red, white, and blue ribbons
- glue
- hole puncher
- red, white, and blue paint
- string
- paintbrush or foam brush
Time to Make a 4th of July Rocket
Step 1: Paint the toilet paper roll
My daughter had a blast with this one. She started with the foam brush but ended up switching to her fingers. Of course, I didn’t notice she was wearing a brand-new shirt when she started painting! Thankfully, we managed to avoid any paint getting on her clothes. I did make her change into “paint-worthy grungy” clothes before she started painting the second rocket.
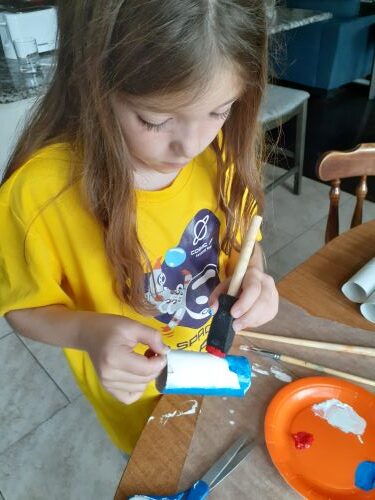
We used red, white, and blue acrylic paint from Hobby Lobby. If you have younger kiddos I recommend the washable Crayola finger paints.
TIP: The paint will soak into the toilet paper roll cardboard which makes it kind of flimsy. So, be sure to let it completely dry before moving on in the process.
Step 2: Cut out a circle in the paper for the rocket’s nose cone
While the paint is drying, grab your piece of paper. We used printer paper because it was handy, but you can use construction paper or scrapbook paper. Next, draw a circle on your paper. My freehand circle drawings always look like an egg. So, I reached into my pantry and grabbed a can of veggies to be my guide.
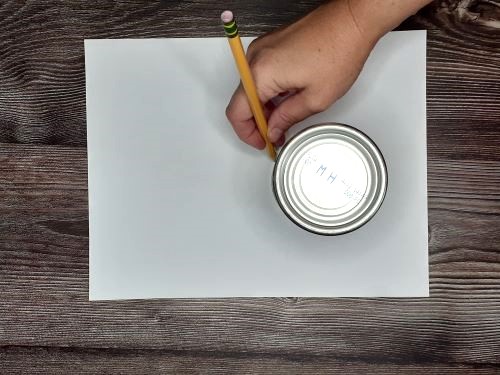
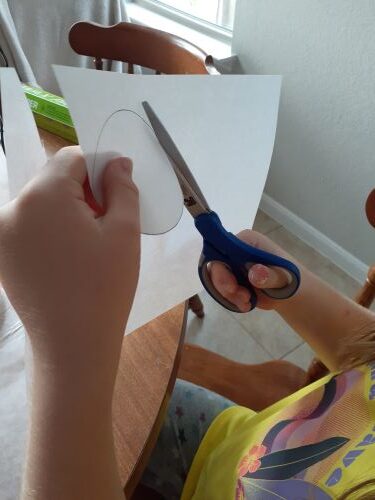
Then, cut out the circle and set it aside.
Step 3: Punch holes in the toilet paper roll
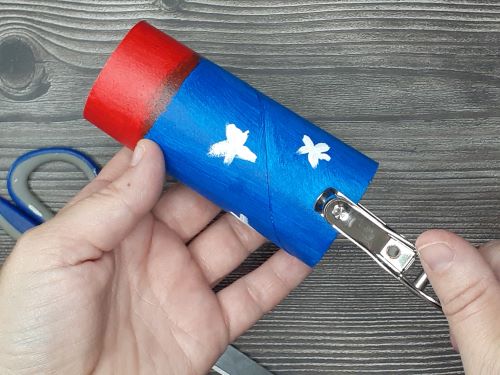
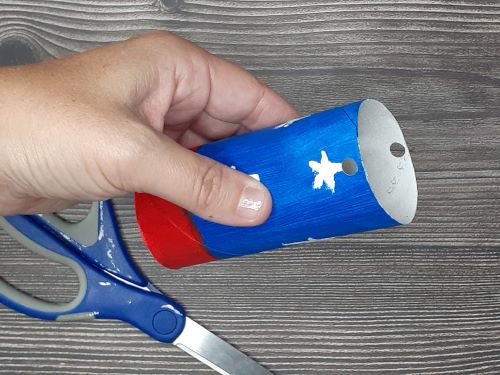
Once the rolls are dry, decide which side will be the top of the rocket. Next, you want to punch two holes on that end. Be sure they are opposite each other and not too close to the edge. You don’t want the string ripping through the roll.
Step 4: Add the string for hanging the rocket
Next, run one end of your string through the two holes.
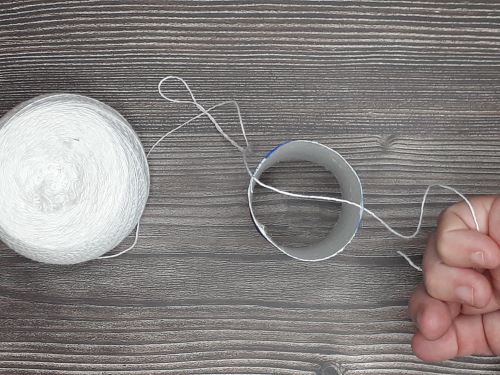
Then, pull both sides over the end of the roll and tie them together. The knot should sit in the middle of the toilet paper roll hole.
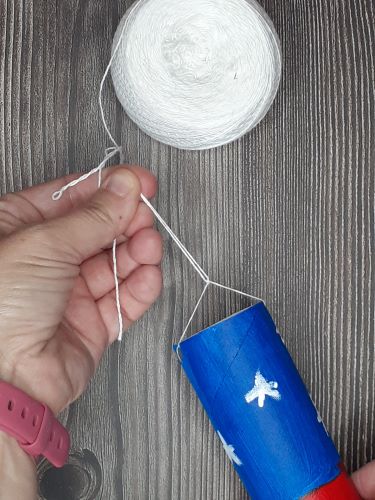
Step 5: Make and add the nose cone to the rocket
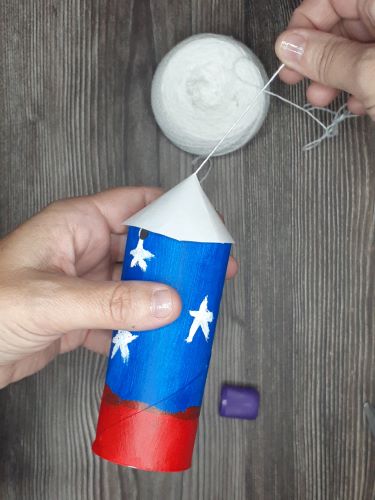
Now, find that circle you cut out in step 2. Make a small cut from one side of the circle to the center. Run the string above the knot you just made through the cut, so it rests at the center of your circle.
Next, take the paper circle and overlap the edges so it creates a cone shape. Glue the paper where it overlaps. You should be able to slide the cone down the string to sit on top of the toilet paper roll.
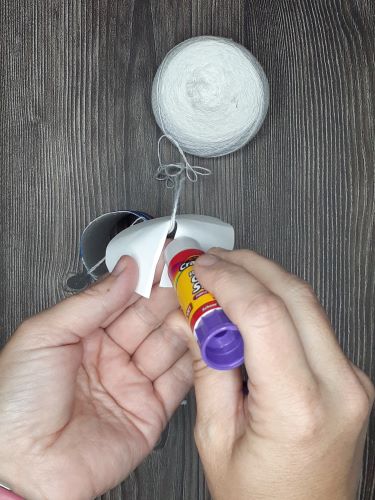
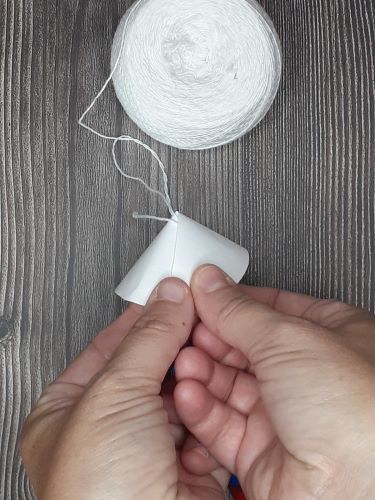
Step 6: Add your rocket tail ribbons
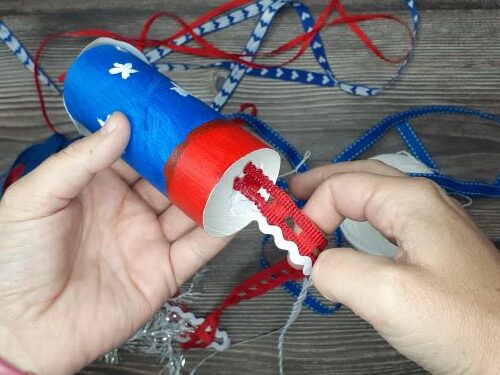
Cut the ribbon to your desired length and start gluing each piece of ribbon inside the toilet paper roll until it’s all around the bottom edge.
Step 7: Hang your new 4th of July rocket!
After all the glue is dry, make a loop at the top of your string and tie it off. Use the loop to hang your rocket ship from tree branches, back porch, fence, or in the house as part of your Independence Day decorations.
