Easy to Make Unpaper Towels DIY
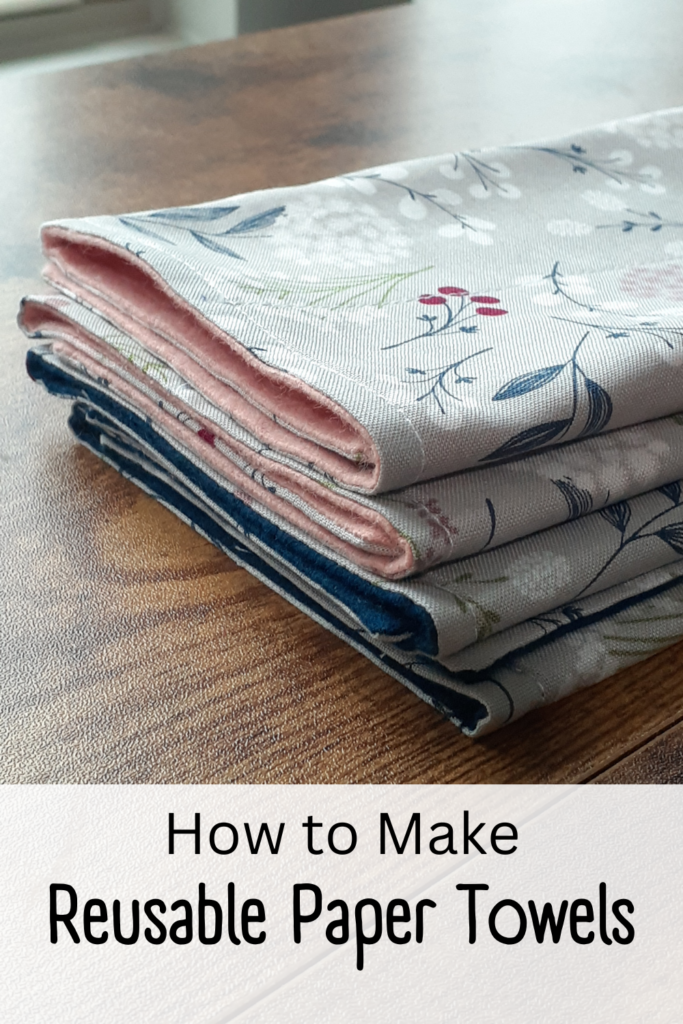
Considering the increase in grocery bills these days, you might be like my family and are looking for ways to cut the cost. Whipping up some unpaper towels is an easy way to save some money. They’re a sustainable, reusable alternative to paper towels—and they’re surprisingly easy to make! This DIY project is perfect for beginners and a great way to use up scrap fabrics.
My family goes through a lot of paper towels….like, a LOT! Between two cats, two dogs, and two kids – apparently, I like everything in pairs – there is always a spill in the house. I just hated how many paper towels (and money) end up in the trash can, so I put my sewing machine and some scrap fabric to work.
This is my second round of unpaper towels. I sewed a few towels a few months ago but didn’t like the size and the way the two fabrics separated when I dried my hands on them so I’m taking another stab at them.
Supplies
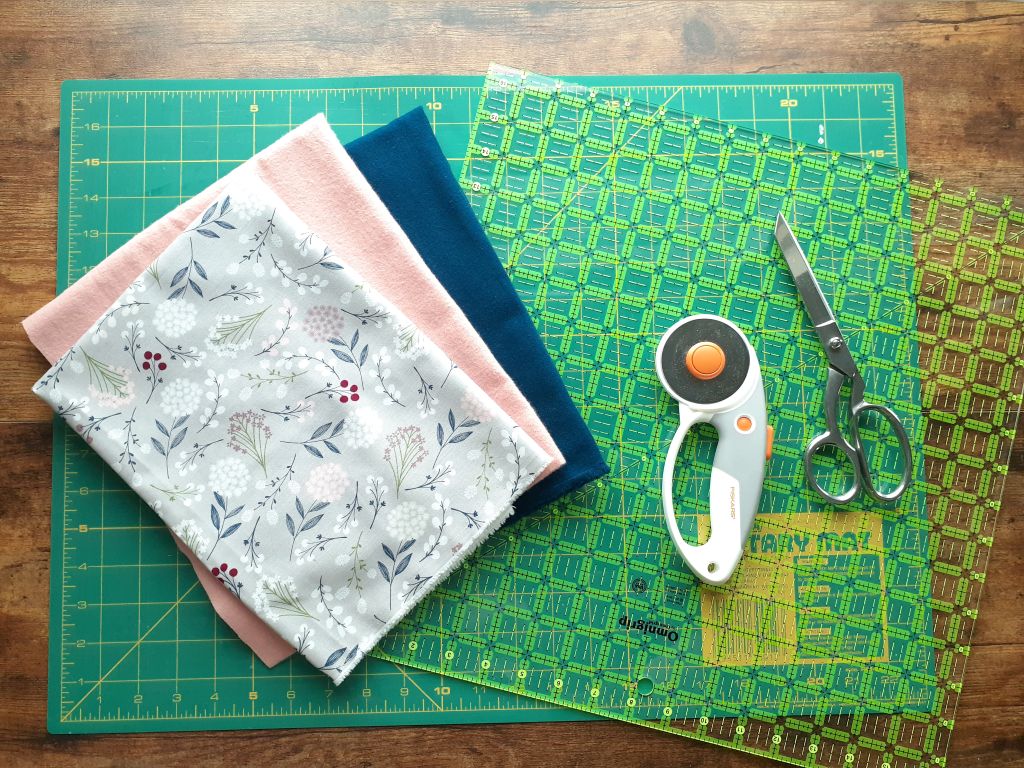
- 1 yard Cotton fabric
- 1 yard Cotton flannel (or other absorbent fabric like terry cloth)
- Scissors
- Ruler or rotary cutter and mat
- Sewing machine
- Matching thread
- Pins or clips
How to Make Unpaper Towels
Step 1: Prepare your fabric
Before you begin this project, I recommend washing and drying your fabric first. Since we are using cotton fabrics, it’s important that you pre-shrink them so your towels don’t end up misshapen the first time you wash and dry them.
Step 2: Cut your fabrics
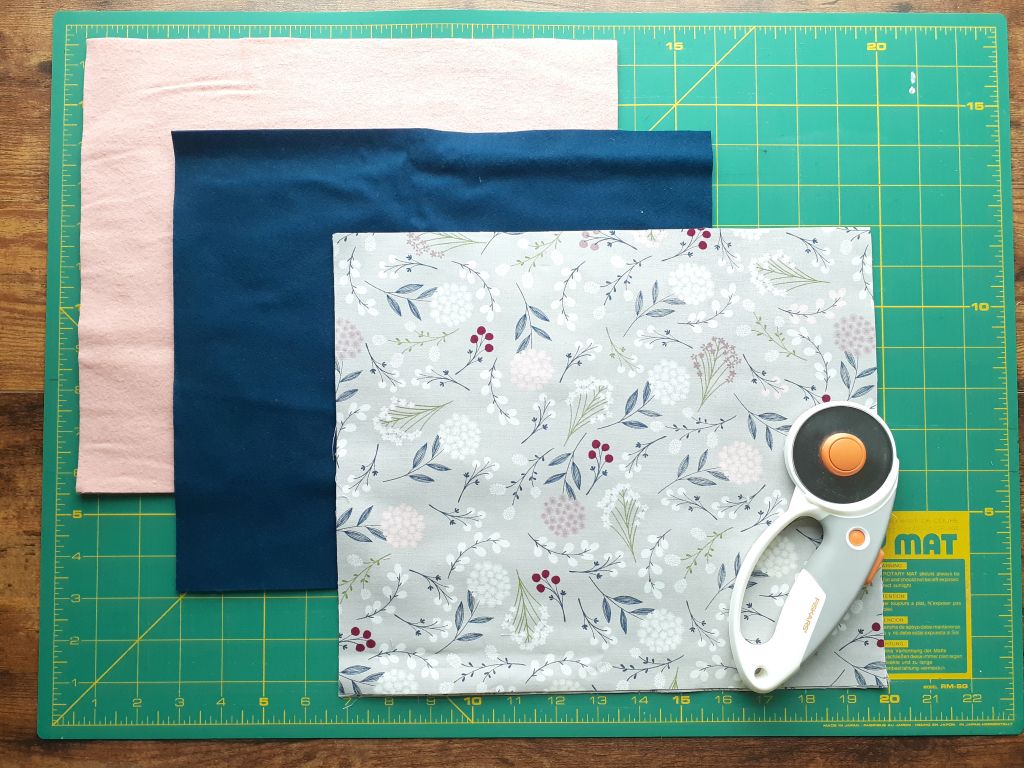
You will need to cut the same sized piece from each of the two fabrics. I cut mine 11 x 13-inch for a finished size of 10 x12 inches.
You can adjust the size you cut based on what you need. The first round of towels I made were 12 x15 inches (finished size 11 x 14). After using them for a week, I felt they were too long, so I decided to make some more but a little shorter.
Whatever size you decide to go with, be sure you account for a ½ inch seam allowance.
Step 3: Sew your fabrics together
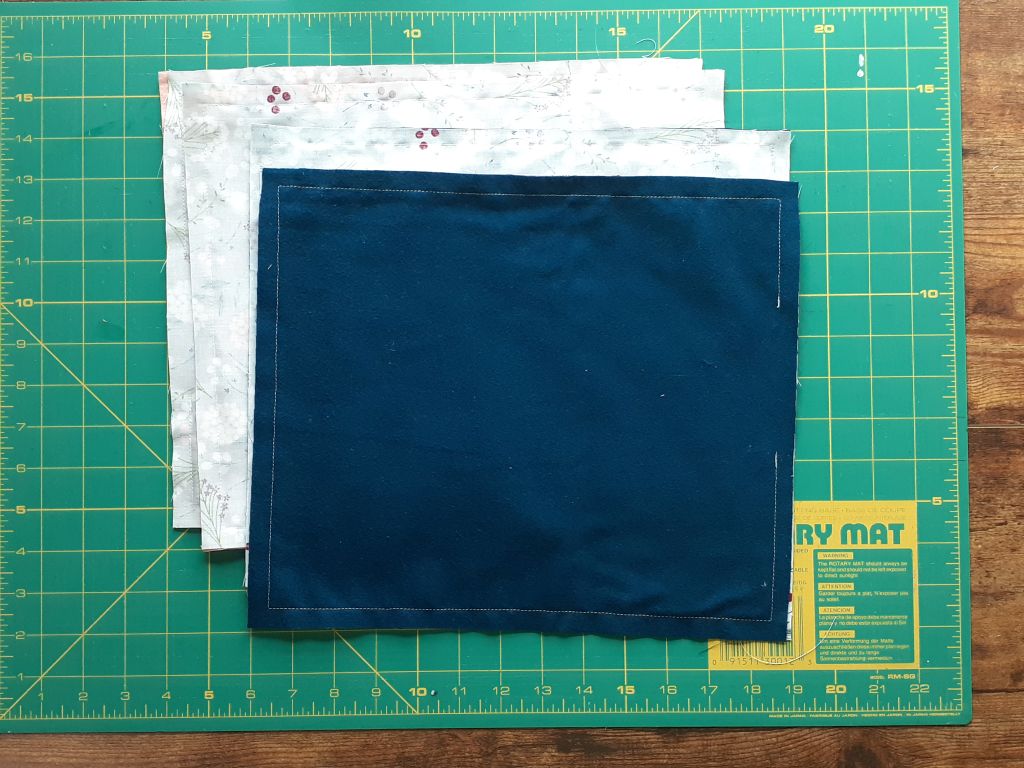
Next, you will need to sew together the one piece from each of the fabrics. Place the two fabric pieces right side together and sew it ½ inch around the edge leaving a two-to-three-inch opening for turning right-side out later.
If you aren’t using a solid color fabric instead of a patterned fabric, then it won’t be a right side for sewing them together.
Step 4: Clip the corners and trim the seam
Scoop up those scissors and trim off the corners. Get as close to the stitching as you can without cutting the stitching. This will help the corners push out once this is turned right side out.
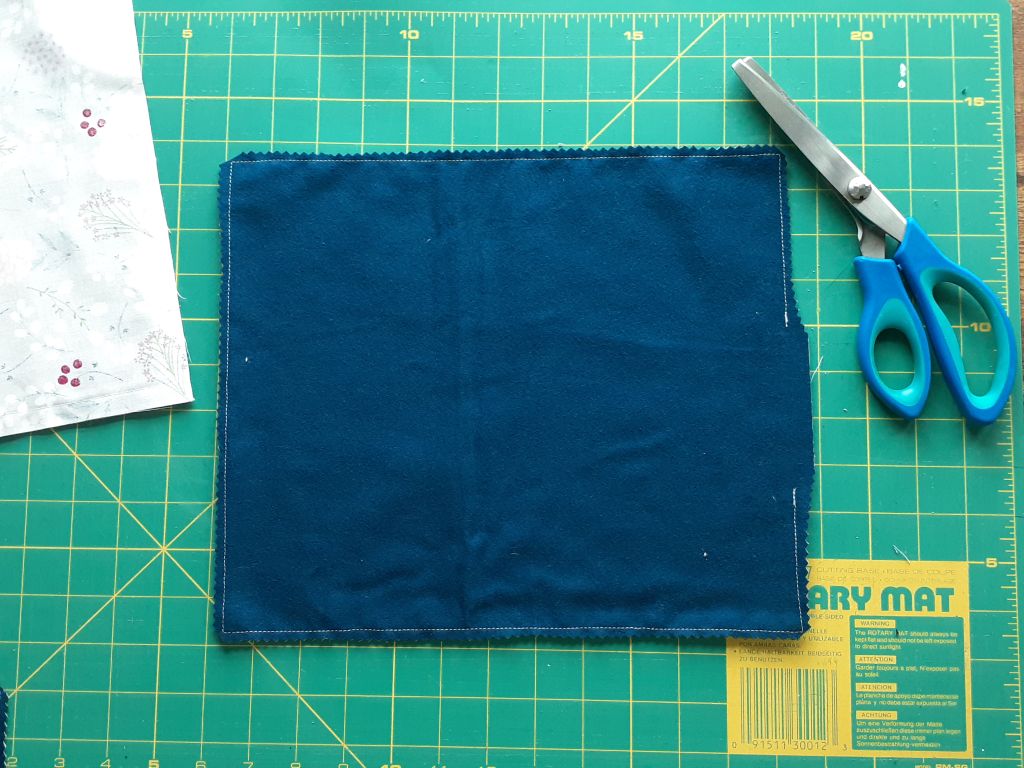
Next, you will want to trim up the seam to remove some of the bulk fabric. I ended up using pinking shears to clean up the edges and prevent unraveling.
Step 5: Turn your towel right side out.
Find that little opening you left in the seam and turn your towel right-side out through the opening. You will need a pair of scissors or pen or wood stick to push out each of the corners but be careful not to push too hard. You don’t want to tear the seam. I find that the little wood stick (no idea what it is called) that comes in packages of Poly-fil works great for this and the blunt end keeps it from tearing the seams.

Step 6: Top quilt the fabric together (optional)
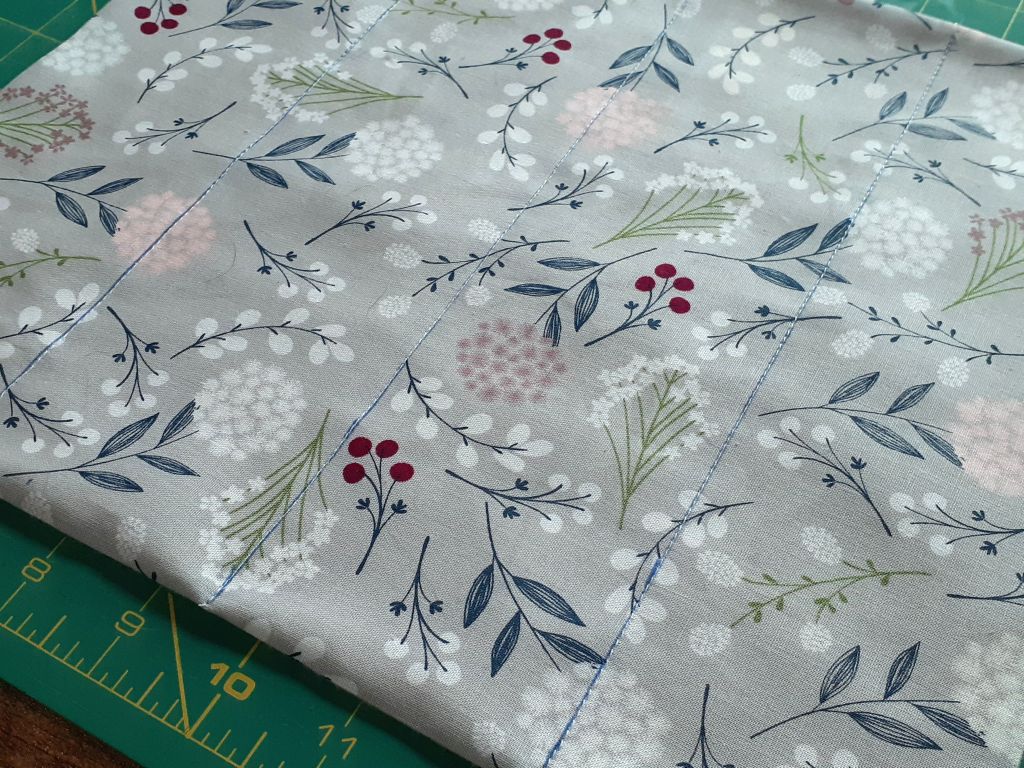
For my first set of towels, I didn’t top quilt them, which is fine – you don’t have to. Every time I dried my hands on the unquilted towels, it really felt weird having the two layers separating. It was difficult to lay it flat afterwards – maybe I’m just being weird about this? Maybe it’s just me? LOL. Well, anyways, my solution was to top quilt this new set of towels.
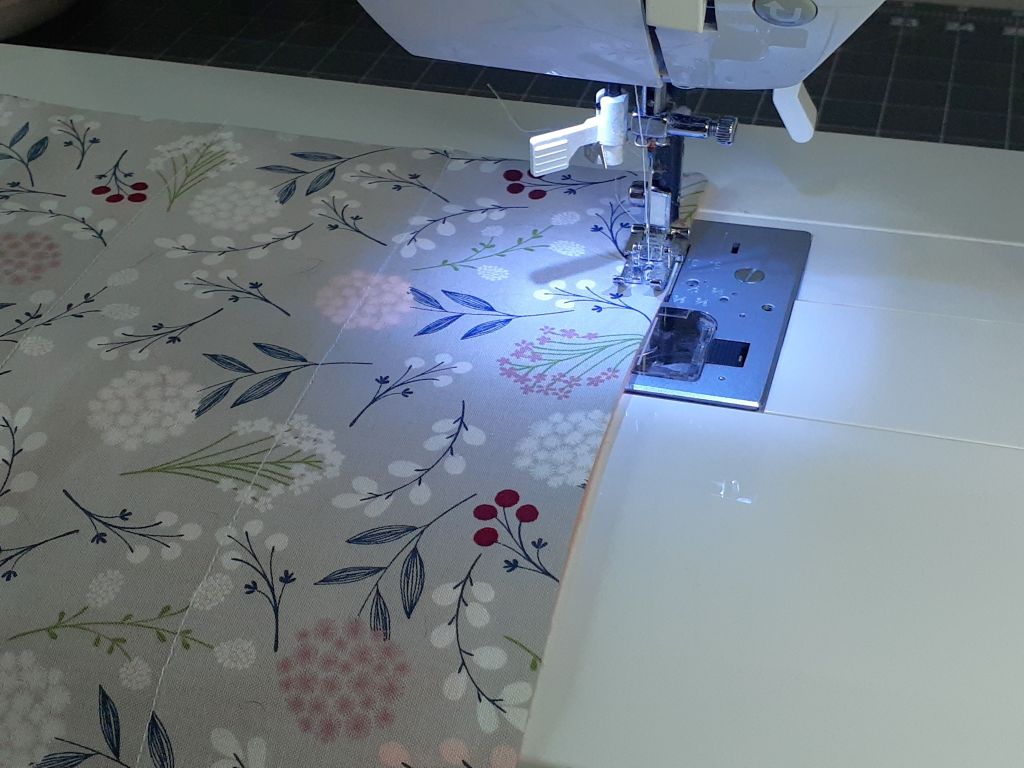
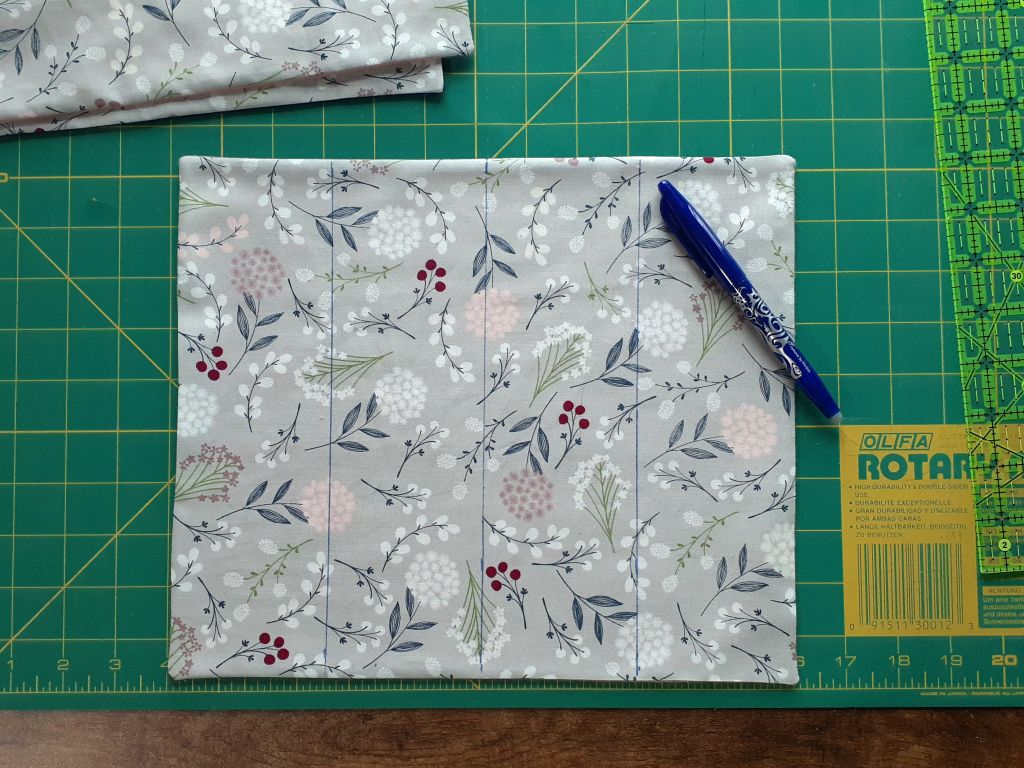
So, I measured and marked lines three inches apart and sewed down each one. If you decide to do this, you don’t need back stitch at the beginning and end of each line because you will sew over them in the next step.
To be honest, I think three sewing lines was a little overkill so one down the center would probably work fine. Or skip this all together because you think my irritation with the separating fabrics is nuts.
Step 7: Finish the towel
Now we will complete our last step. Sew around the edge of your towel as close to the edge as possible, being sure to close the opening as you go.
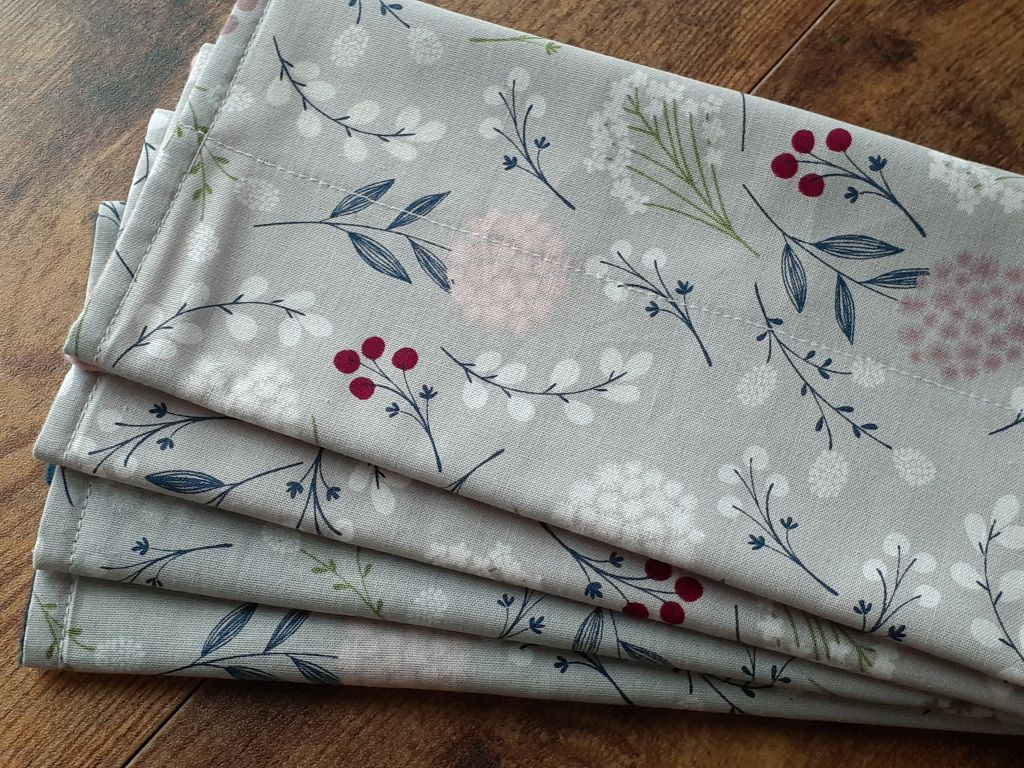
Your towels are now ready to tackle your messy hands, messy countertops, well…messy anything!
