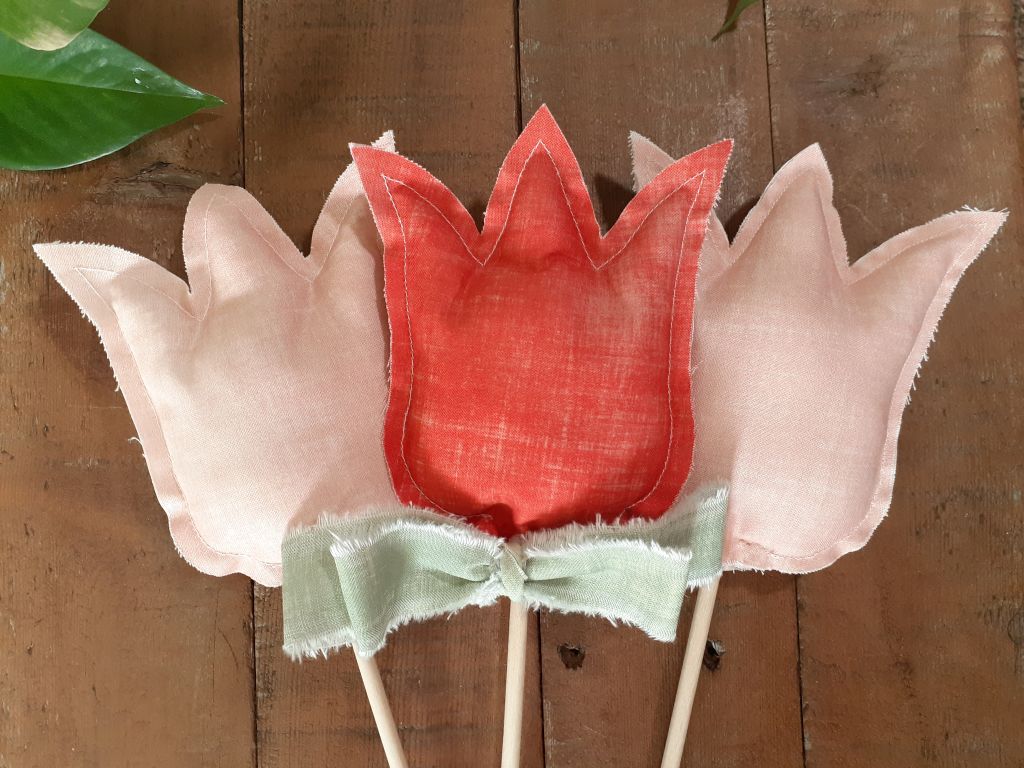
DIY Spring Decor Fabric Tulip on a Stick
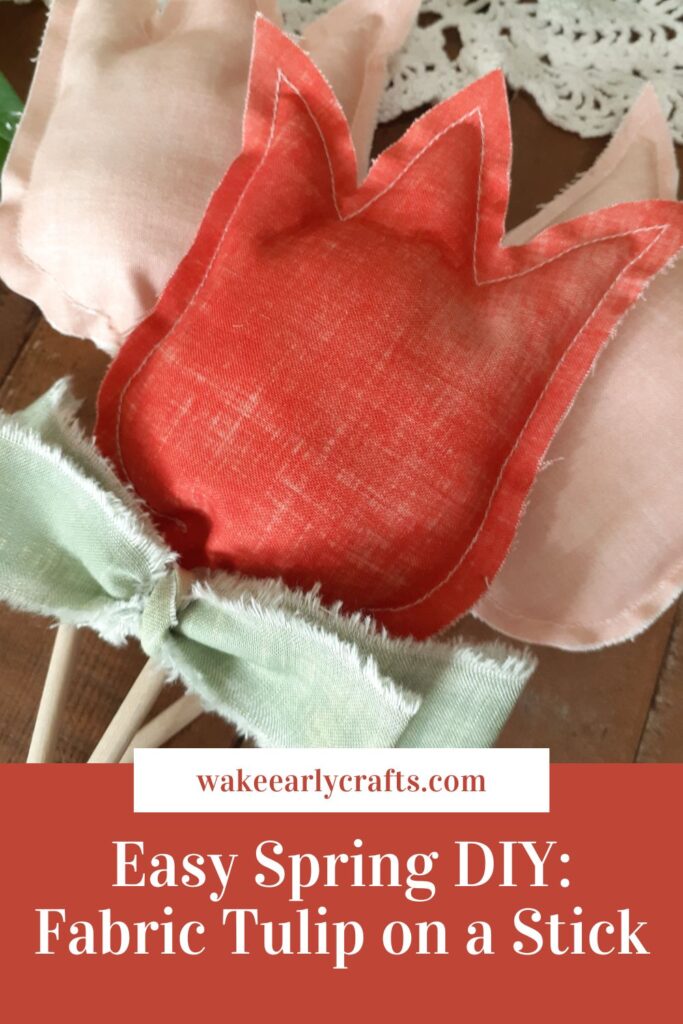
Spring is my favorite time of the year! I love finding ways to bring spring colors into my home and these fabric tulips on a stick are perfect for doing just that. They’re easy to make and can be made with or without sewing.
Supplies
- 1 fat quarter pink fabric (or color of your choice) for tulips
- 1 fat quarter green fabric for the “leaves” bow
- Sewing machine
- Fabric scissors
- Fabric glue (optional)
- Floral wire
- Floral wire cutters
- Hot glue gun
- 3/16 or 1/8 inch dowels
- Tulip pattern
- Poly-fil
How to Make Fabric Tulip on a Stick
I’ve always had an addiction to hoarding fabric. If I see something I like or LOVE, I purchase it and it sits on my shelf until I find just the right project for it.
Since I’m always looking for inexpensive ways to decorate my home (gotta make up for the excessive spending I do in fabric), this stack of fat quarters came in handy for my fabric tulips on a stick.
These tulips are a great way to add a little spring flare to your home. You can poke in a planter or basket or add them to a vase or tiered tray.
Step 1: Print and cut out the tulip pattern
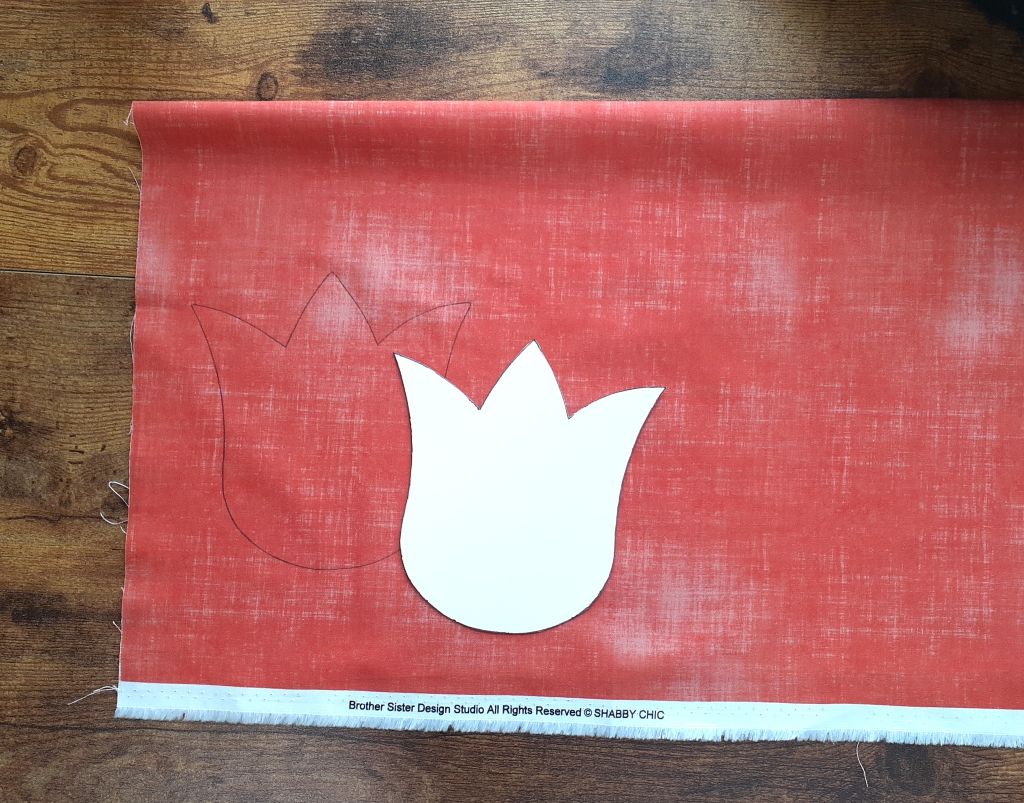
Download this free tulip pattern or you can find one online if you prefer a slightly different tulip shape or another type of flower.
Cut out the pattern once you’ve printed it. I prefer to use card stock since it’s a little sturdier while I’m tracing the pattern on my fabric, but regular printer paper works fine too.
Step 2: Trace the pattern on your fabric and cut out the tulips
Trace and cut out two tulips from your fabric.
Tip: If you are making more than one tulip, you can save time by folding your fabric in half and cutting the two tulips at the same time.
Don’t make my mistake and forget to iron your fabric before tracing your tulips. I ended up with a crease in my first one and, after ironing it, I had to trim it up because it was bigger than my second piece.
Step 3: Stack your tulips and sew them together
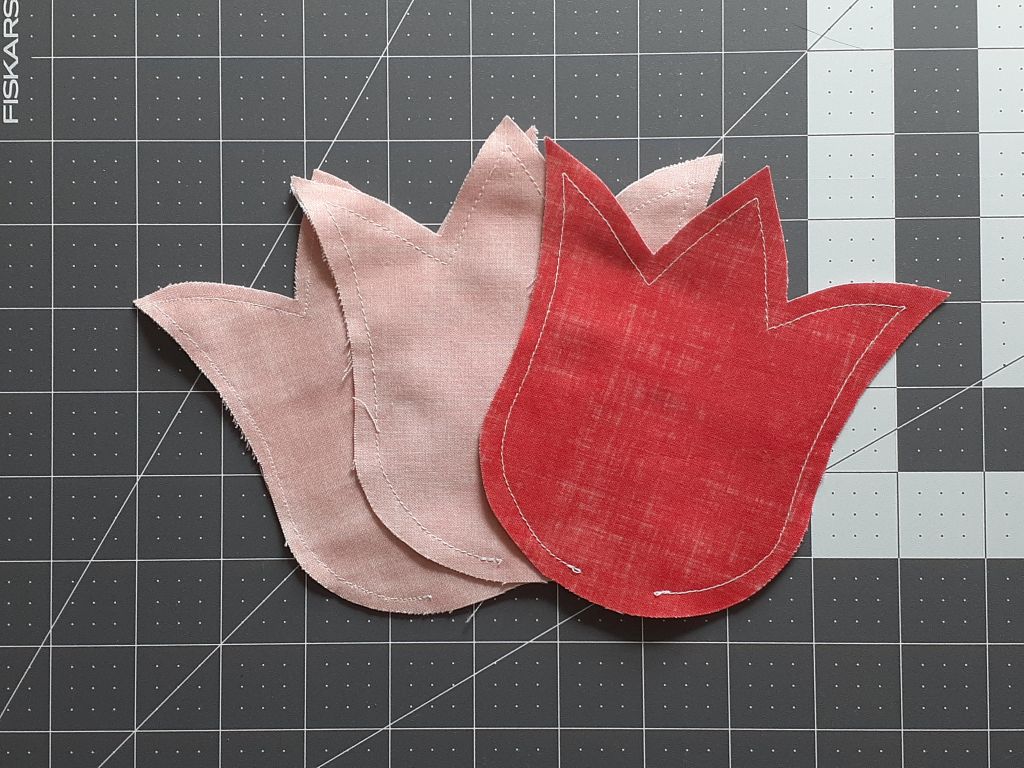
Place the two tulip pieces wrong sides together and sew ¼ inch around the edge leaving a small opening at the bottom of the tulip as shown on the pattern. Be sure you back stitch at the beginning and end to reinforce the stitching as you stuff the tulip later.
Fabric glue can be used as a substitute for sewing the pieces together. Apply the glue around the edge on the wrong side of one of the tulips – leaving the opening at the bottom glue free – and place the second piece on top. I recommend waiting 24 hours to let the glue fully cure before moving on with this project.
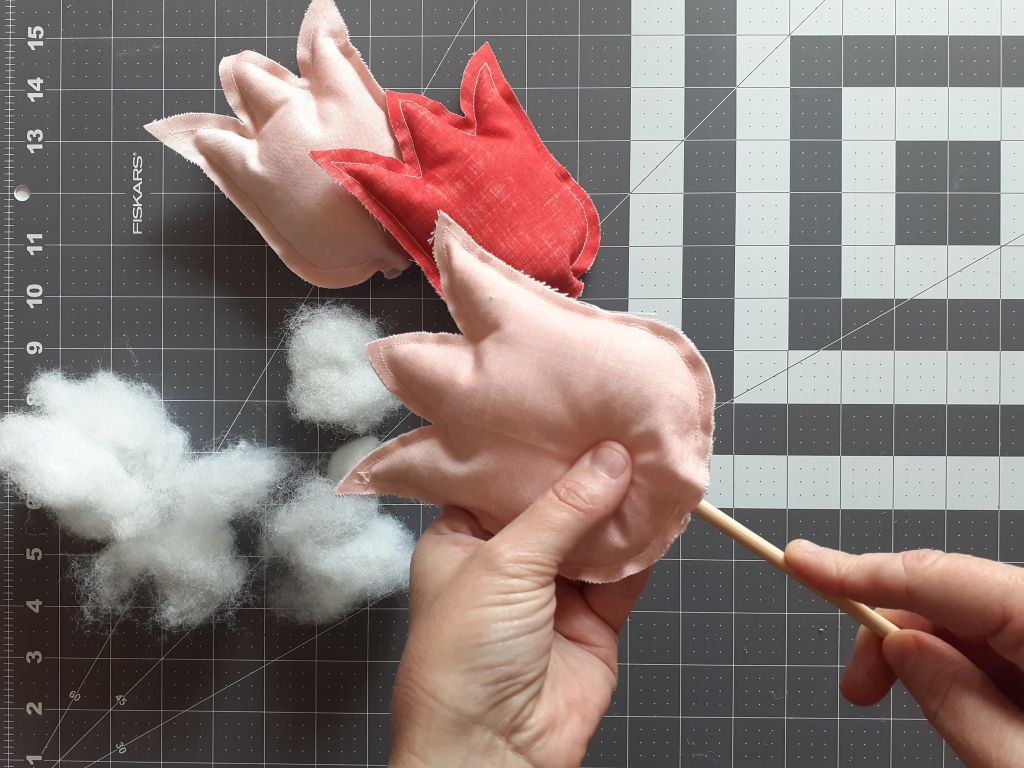
Step 4: Stuff your tulip with polyester filling
You can use Poly-fil – I always have a bunch of this stuff lying around my craft room – or a soft filling of your choice. Carefully stuff the filling into the tulip. Bags of Poly-fil usually include one wood “stuffy tool.” I have no idea what it’s officially called so….I’m going with stuffy tool.
Be careful as you stuff the tulip; you don’t want to rip the seams.
Step 5: Glue your dowel rod to the tulip
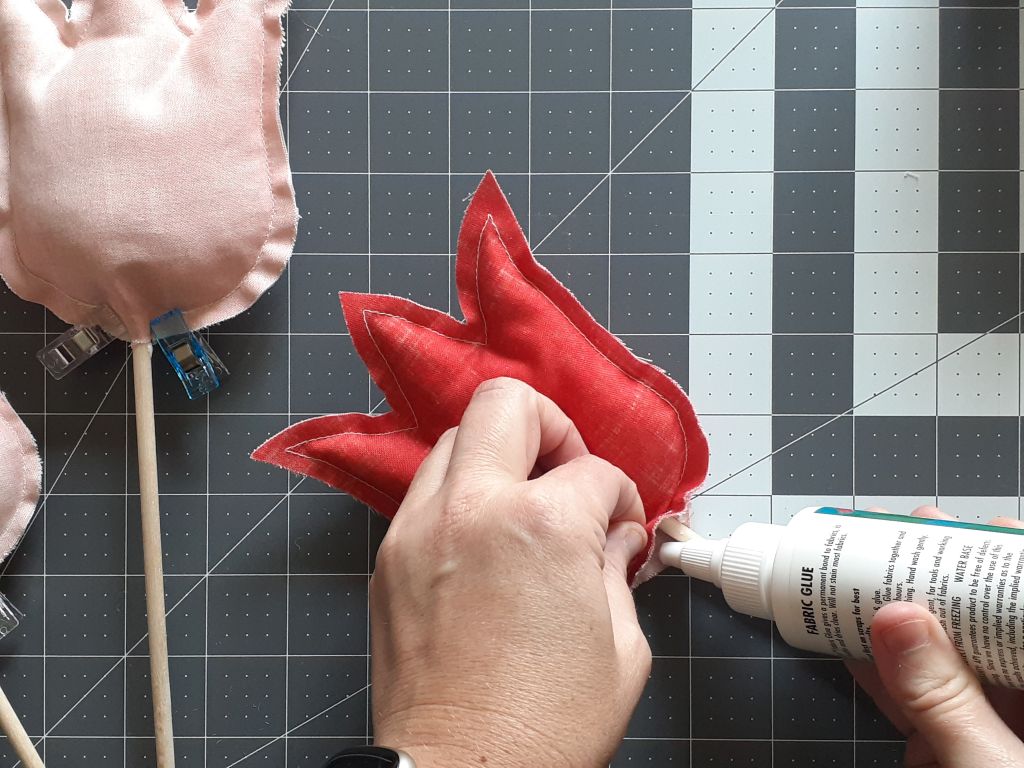
Insert the dowel rod into the small opening at the bottom and add fabric glue along the opening and across the dowel.
Press the opening together and clip it closed until the fabric glue fully sets.
Step 6: Rip your green fabric for the bow
While the glue is drying on your fabric tulip, go ahead and make your bow. First, iron and lay out your green fat quarter.
On the short side of the fabric, measure and mark 1.5 inches from the long edge and another 1.5 inches from the first mark.
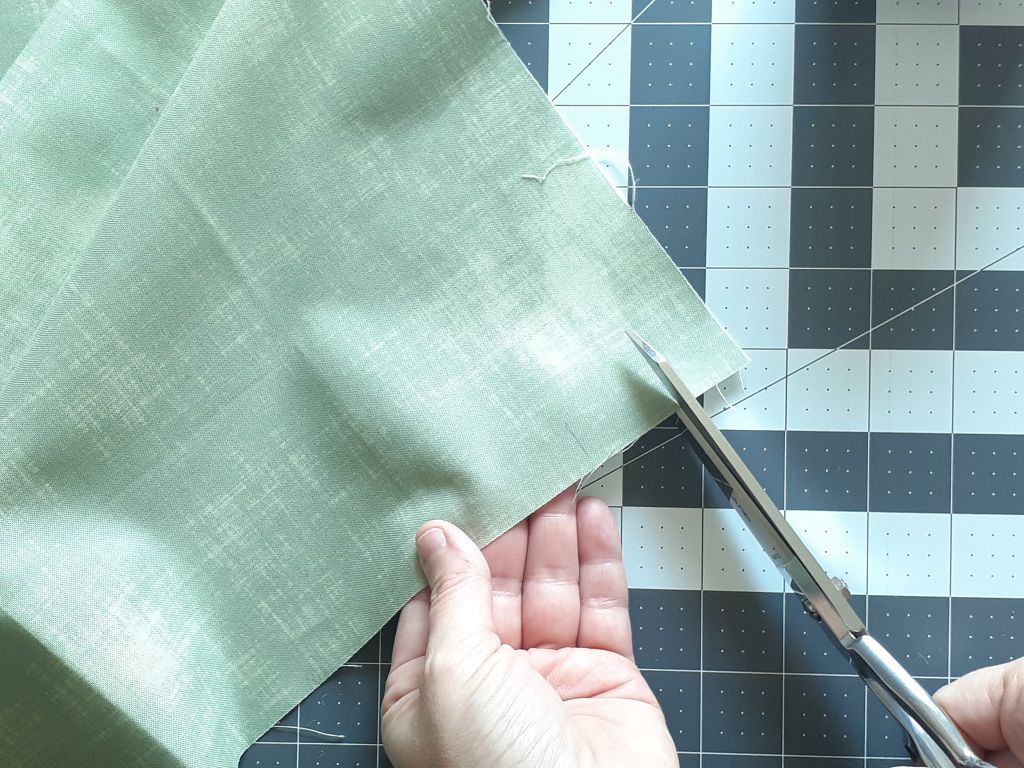
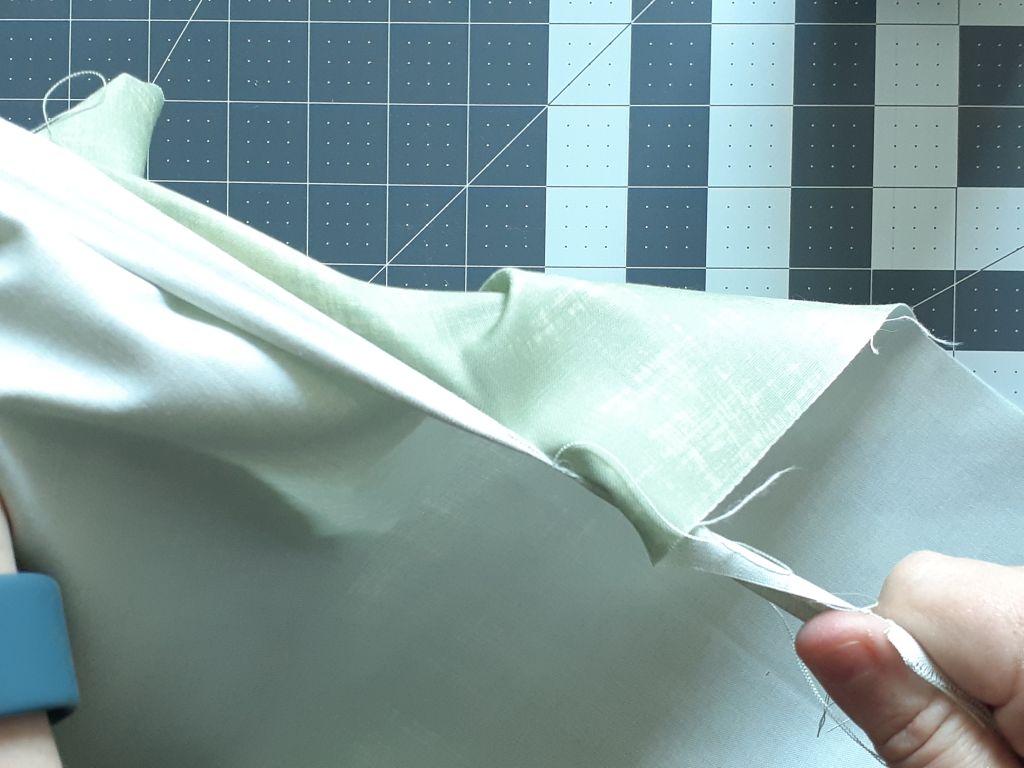
Make a small cut on the first 1.5-inch mark then grab on either side of the cut and let ‘er rip! Rip the fabric all the way down until you have one 1.5-inch-wide strip of fabric.
Next, grab on either side of the second 1.5 inch mark and rip the fabric again. You will end up with two 1.5-inch-wide fabric strips.
Step 7: Make your bow
From one fabric strip, cut one 12-inch piece. Fold the ends of the 12-inch strip towards the middle of the strip being sure to overlap them a little. Use your fabric glue to glue the ends down.
Cut a 9-inch strip and follow the same instructions as with the 12-inch strip.
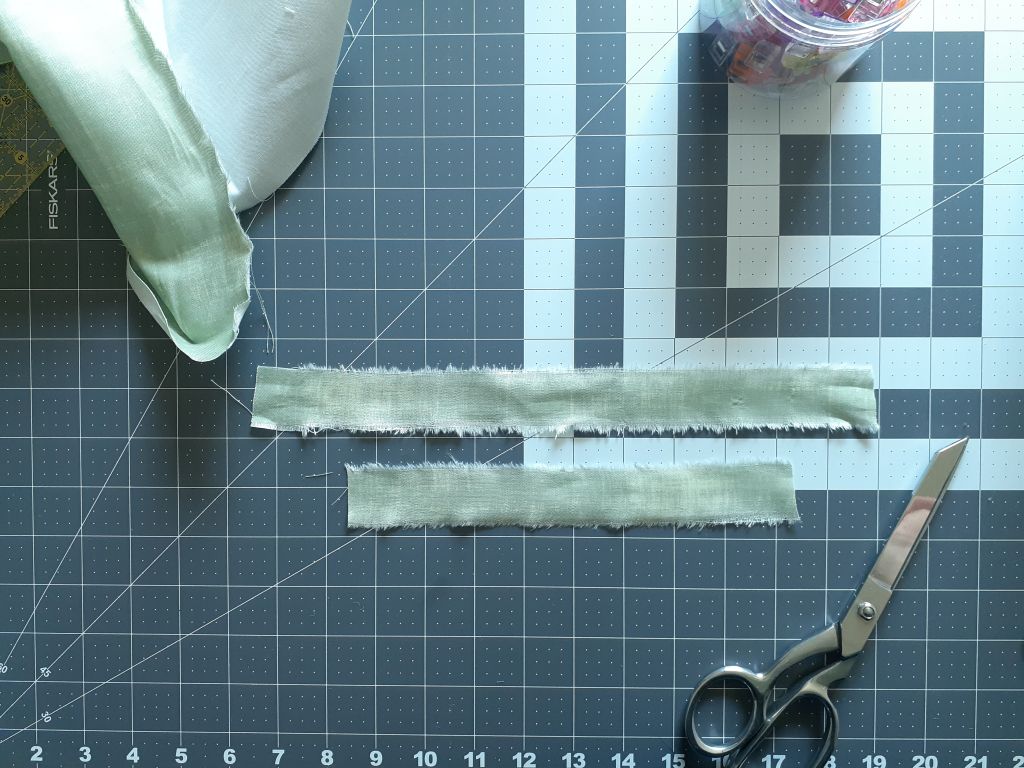
You should have two different sized bows.
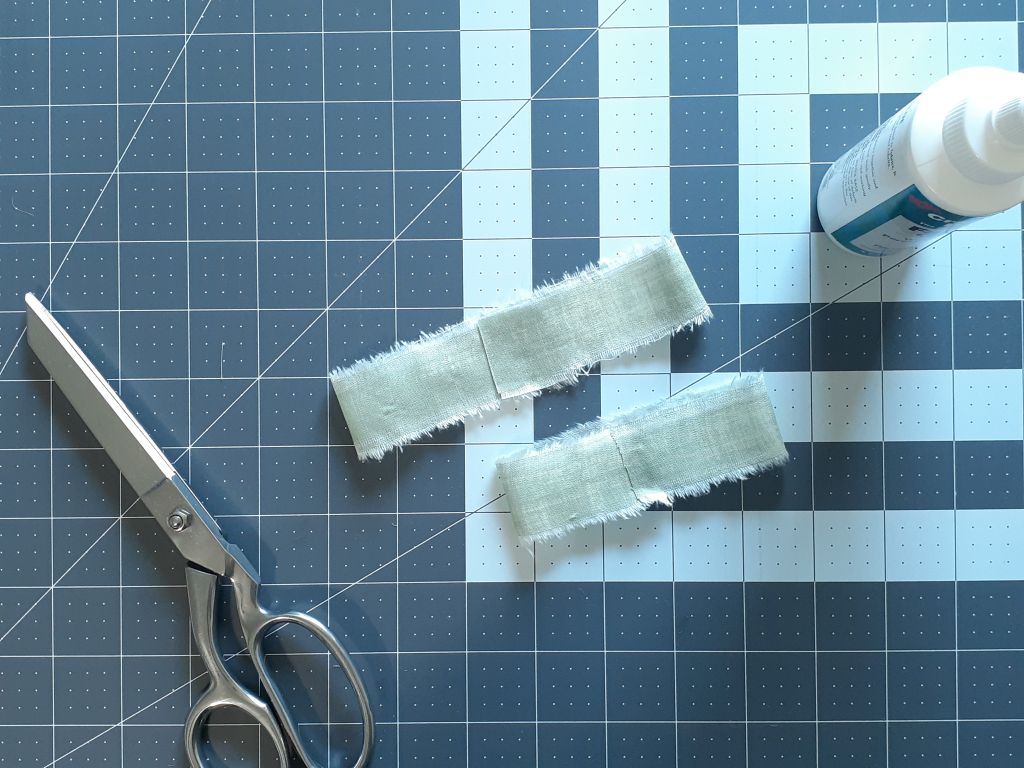
After the glue dries, place the small one on top of the big one and glue it into place.
Step 8: Apply your bow to your dowel
Cut a piece of floral wire – the length doesn’t have to be exact. I cut a little more than I thought I needed and clipped off the excess when I finished the project.
Wrap the floral wire around the center of the bow tight enough to bunch the fabric together with the wire’s ends finishing behind the bow. Twist the ends together and spread the ends apart.
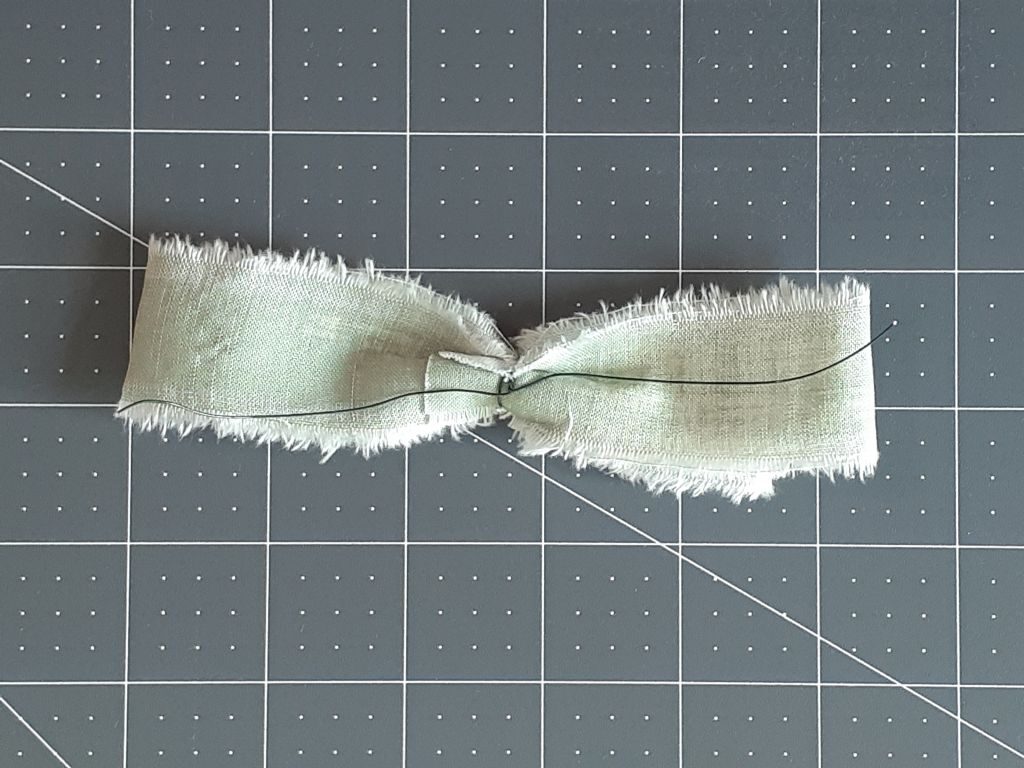
Cut a small piece of fabric from what’s left of the two green strips. Mine was 3 inches. Wrap the piece around the center of the bow to cover the floral wire and glue the ends to the back of the bow. You can use fabric glue, but I ended up using the hot glue gun.
For this part you will need the hot glue gun. Hot glue the back center of your bow to the dowel and twist the floral wire ends around the dowel, cutting off the excess wire when finished.
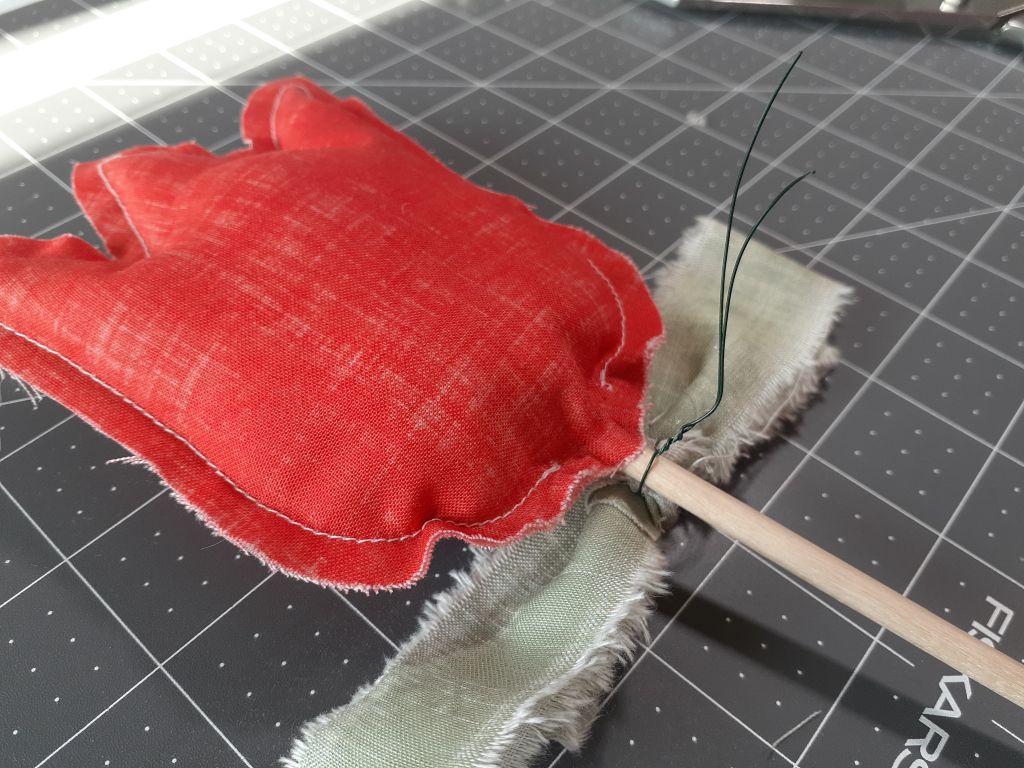
Once all the glue is dry, find a plant to display your new tulip! Use these instructions to make an army of tulips for your house plants.
