
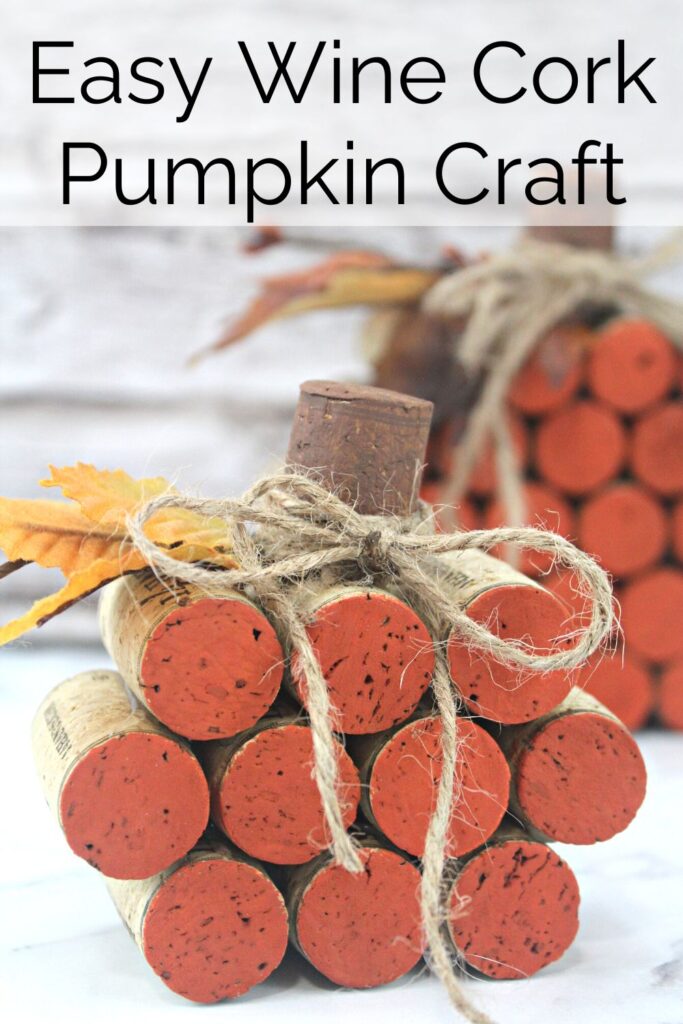
DIY Wine Cork Pumpkin: Easy Fall Craft
Looking for a fun and easy fall craft? Look no further than the wine cork pumpkin! This simple craft is perfect for kids and adults, and it’s a great way to up-cycle your used wine corks. Plus, it’s a unique and festive way to decorate for fall.
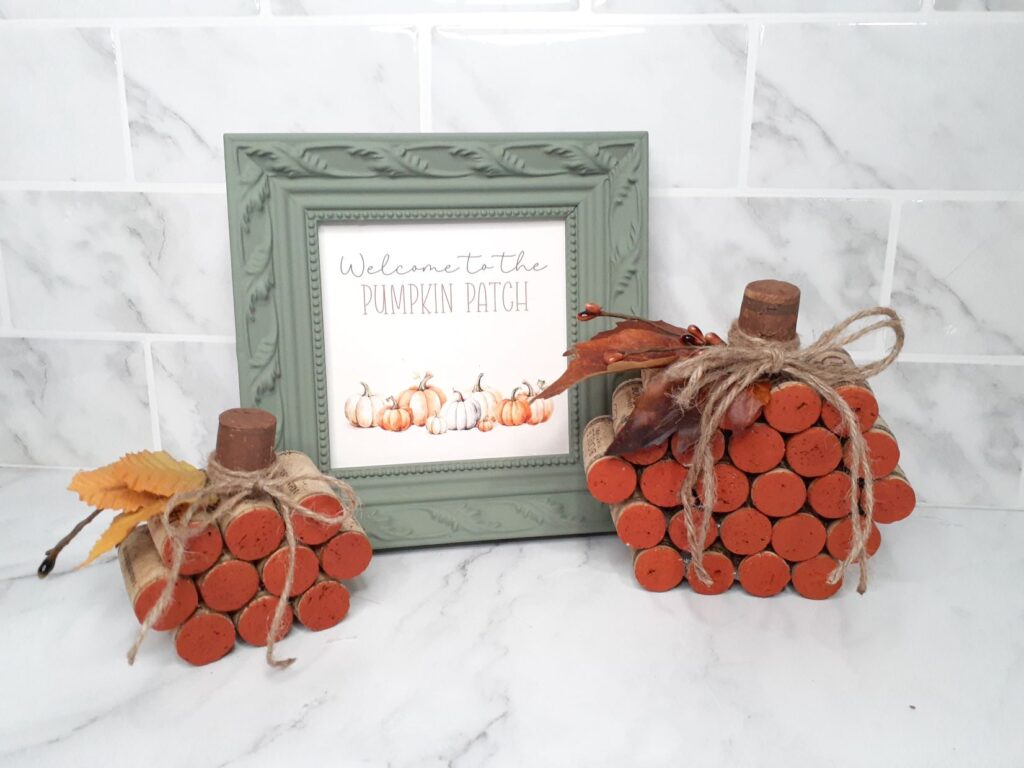
Once your wine cork pumpkin is complete, you can display it anywhere in your home. It would look great on a mantel, a coffee table, or even on your front porch. Wine cork pumpkins are also a great gift idea for friends and family.
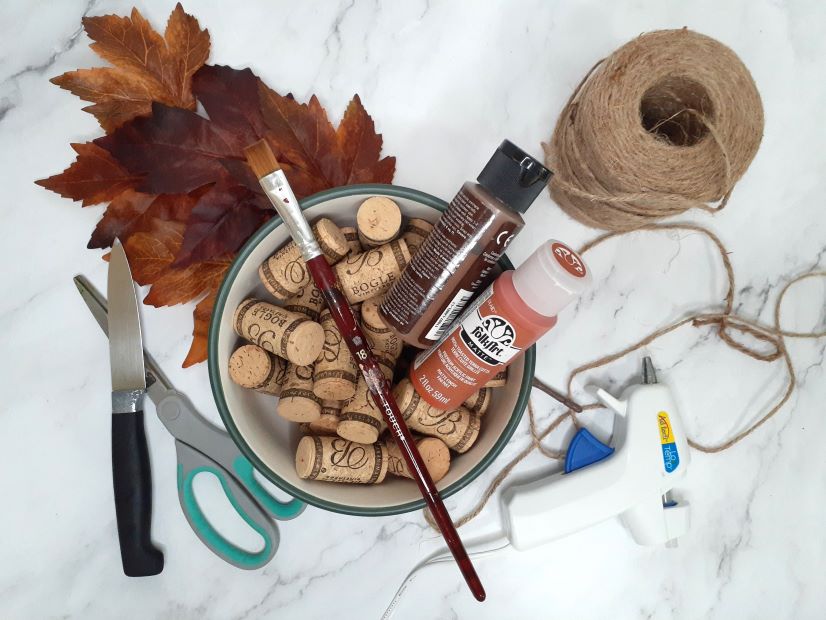
Here’s what you need:
Supplies
- 25 used wine corks
- twine or jute string
- scissors
- knife
- glue gun
- fall leaves
- brown acrylic paint
- orange acrylic paint
Where to Find Used Wine Corks:
If you like wine as much as I do, then you may already have a stash of used wine corks lying around. If not, there are other places to find them. You can purchase them on Etsy or Amazon or your local crafting store. You can also asking local bars or liquor stores if they have some to give away or for purchase.
(If your family and friends drink wine, ask them to set their wine corks aside for you. It won’t take long to collect enough.)
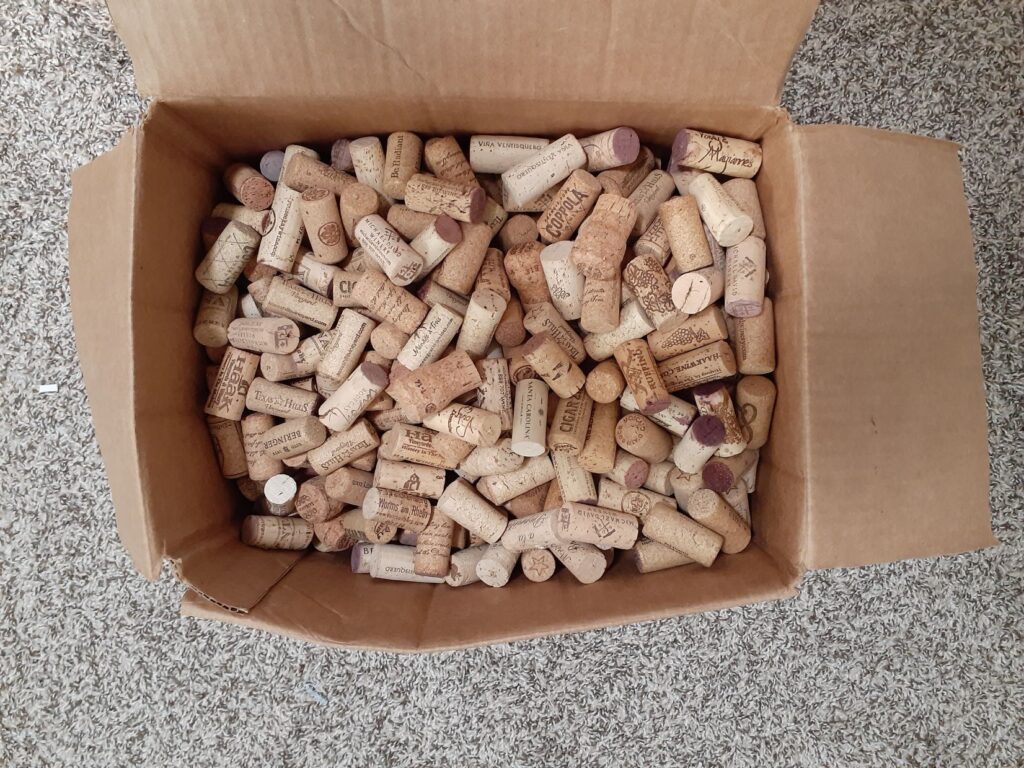
Not only do I have a small stash of corks that I’ve saved up but, as luck would have it, I found a box filled with used wine corks sitting out on the curb next to a few trashcans. I couldn’t believe someone wanted to toss them! Anyways, I couldn’t let them go to waste, so I lugged the box home.
So, you can look forward to a lot more craft posts using wine corks on Wake Early in the future. 😊
Up-cycled Wine Cork Pumpkin: A Creative Way to Reuse Your Wine Corks
Step 1: Prepare your materials.
You will need to pick out 25 wine corks. I recommend you try to pick out corks that are similar in size. This will make it easier to line them up. Apparently, my neighbors who threw out their wine cork collection are picky about the wines they drink. I was able to dig out 25 wine corks from the same vineyard which means they are as close in size to each other as possible.
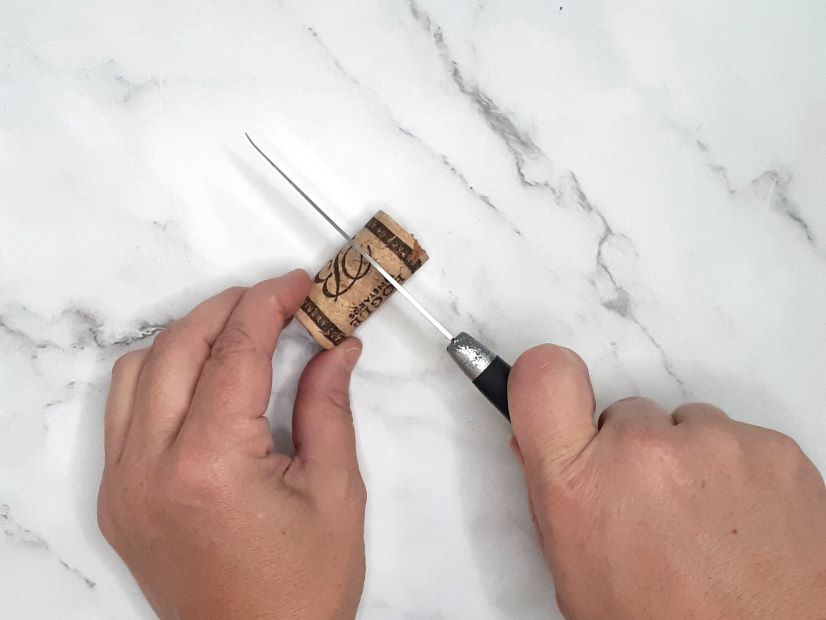
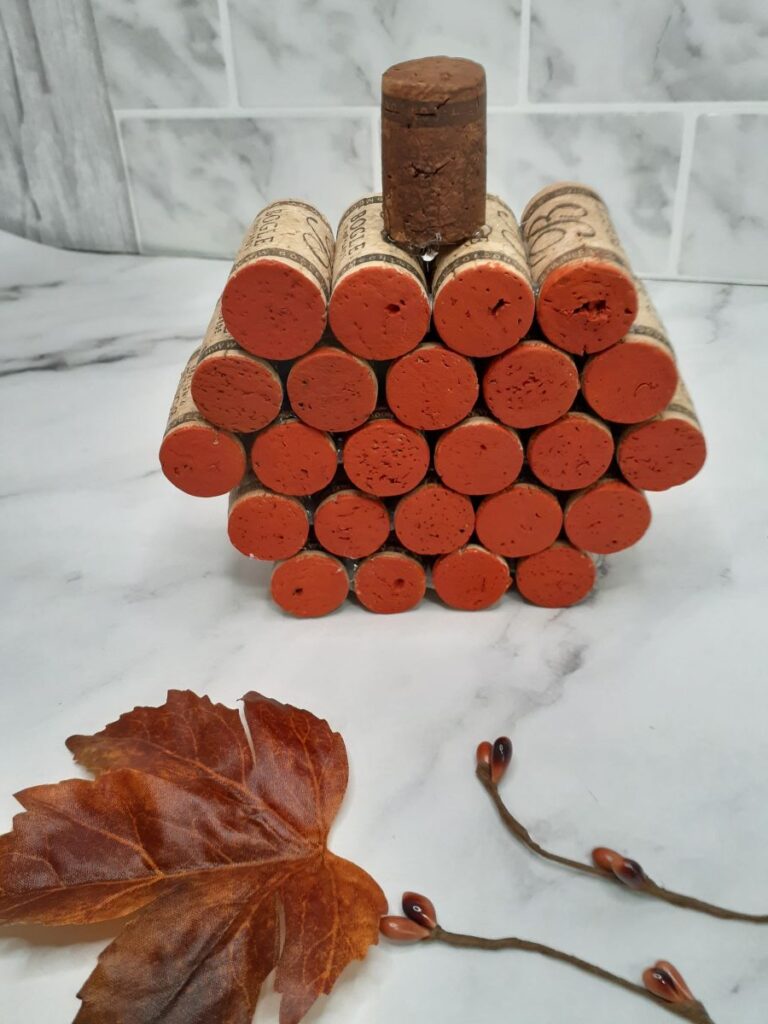
First you will need to cut about a 1/3 of one cork off with your knife and set it aside. This will be your pumpkin stem.
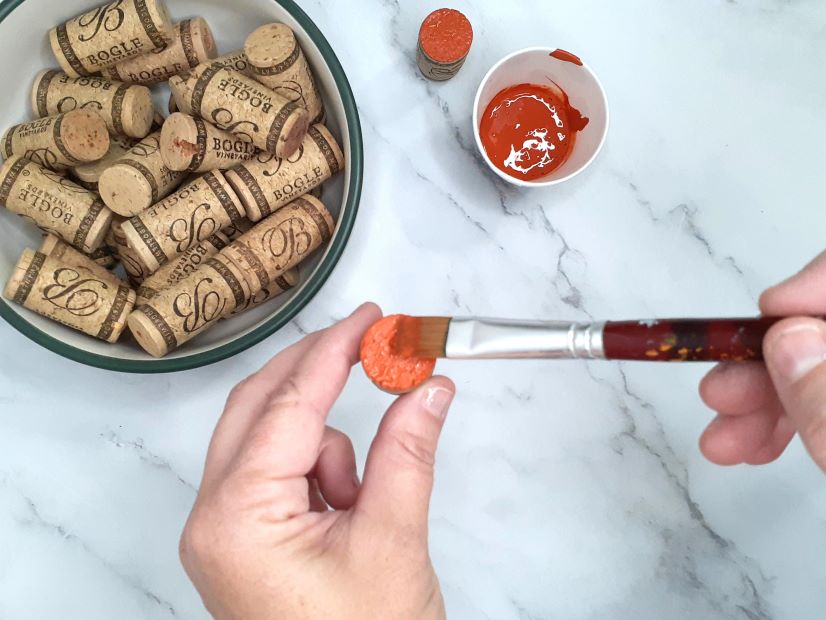
Next you will need to mix a little water into each of your two paints: brown and orange. I’m not a fan of bright orange so I went with an earthier orange, Toasted Terra Cotta. I also wanted it to go with the fall glass jars I made in another post. You can also choose several shades of orange or leave wine-stained ends unpainted.
Step 2: Paint the corks.
After you’ve mixed your paints with a little water, paint one or both ends of 24 corks orange. While they are drying, paint the cork you cut brown and set it aside to dry too.
Step 3: Glue your cork pumpkin together.
When your corks have dried, line them up in rows:
Row 1: 4 corks
Row 2: 5 corks
Row 3: 6 corks
Row 4: 5 corks
Row 5: 4 corks
Next, heat up your glue gun and start gluing your corks together.

Then, glue the brown cork on the top.
Step 4: Decorate your pumpkin with fall foliage and twine.
Glue some leaves on top of the pumpkin around the brown stem. Next, cut some twine or jute string. Wrap it around the base of the stem and tie a bow in the front.
Tip: Play around with different sized pumpkins and paint colors. I made a second smaller one, but you can go bigger too!
Looking for a Few More Fall Craft Ideas? Check These Out!
No posts