DIY Wood READ Sign with a Map for a Bookshelf
In my previous post, I explained how to DIY a wood sign for your child’s bookshelf using Crackle Medium. My daughter’s wood READ sign added a fun pop of color to her room – and fits her personality to the letter!
But I also created a wood READ sign for my son’s room.
My son isn’t as expressive as my daughter and doesn’t like anything too bright.
He enjoys reading historical non-fiction. I bought him a World History book for middle-schoolers a few weeks ago, and he devoured it. Anything to do with history and geography, he is into it! Riding in the car, all I hear from him is, “Mom, did you know [insert some fact about a country here]?”
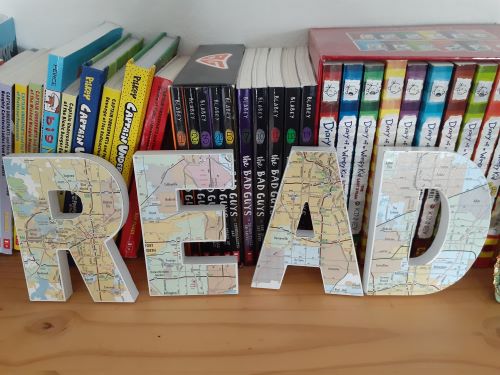
So, I decided to use an old road map of Texas I found hiding in a junk drawer for his wood READ sign. Considering his love of geography, it just made sense.
Here’s how I made it:
Supplies
- Road map
- White wood letters
- Mod Podge
- Paint or foam brush
- An expired credit card or firm piece of cardboard
- Scissors
- Exacto knife
- Pencil
- Ruler
How to make a wood READ sign
Step 1: Open your map and determine which areas you want to use on your letters. Cut out an area big enough for each letter.
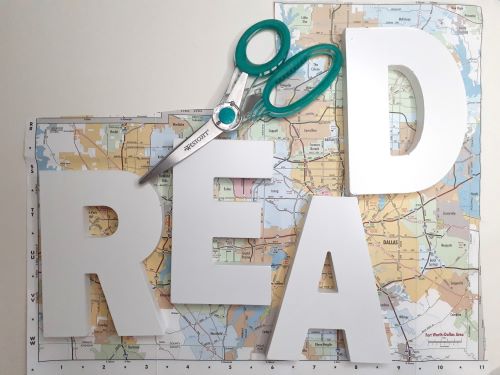
Step 2: Next, flip your piece of map and letter over. The face of the map and letter should be facing down on the table. Using a pencil, outline the backward letter on the back of the map piece.

Step 3: Using scissors, cut out the backward letter. Some areas, like the inside of the ‘A’, may be easier to cut with a ruler and an Exacto knife.
Step 4: I wanted a little white trim to show around the map on each letter, so I used the ruler and Exacto knife to trim down every edge of the map letter.
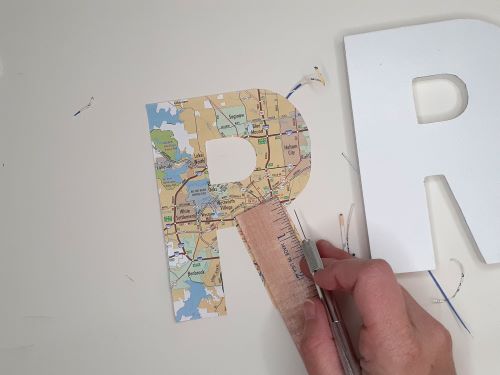
Step 5: Line up the map letter on top of the wood letter and make sure you like how much trim is left. Use the Mod Podge and foam brush to glue the map letter in place.
Smooth any wrinkles or bubbles with your old credit card or piece of cardboard.
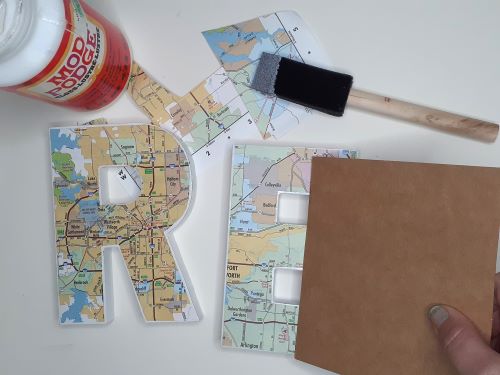
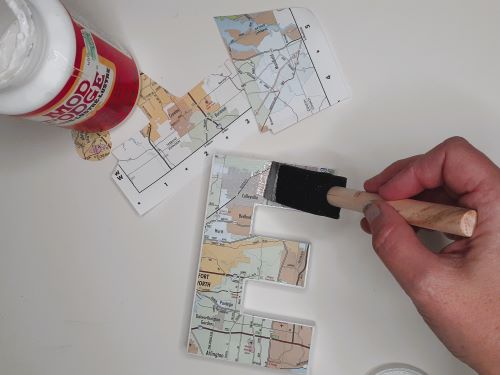
Step 6: Once dry, brush some Mod Podge on the map to seal and protect it.
Finally, find a place to set them up. I wanted to add some small sawtooth picture hangers on the back and hang them on the wall, but my son had a different idea. He likes them sitting on top of his bookshelf. We’ll see where this goes. 😊
If you missed my DIY wood sign with crackle medium post, check it out here. I hope you have as much fun making these as I did. What other unique but simple ways can you make a READ wood sign? I’d love to see them! Share them in the comments below.

2 Comments
Comments are closed.