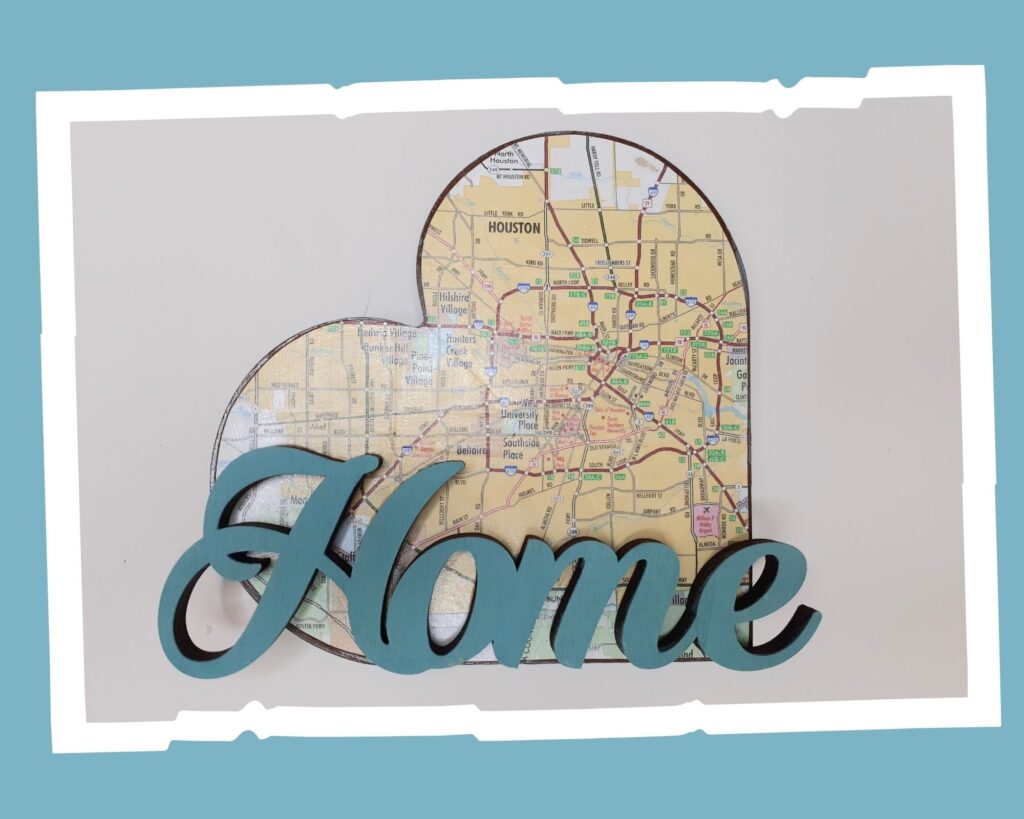
How to Make a Home Map Wood Heart Block
They say home is where the heart is, and this wood heart will never fail to remind you of home. Think of it this way, you’ll now have a use for that old hometown road map gathering dust in your attic or storage room. (Do you remember life before Google Maps? I do! I remember pulling into a random parking lot and having to dig a road map out of my glove box. We are so spoiled now.)
No matter where you roam, this little wood heart will always remind you of where you came from.
“Life takes you to unexpected places. Love brings you home.”
unknown
I grew up moving around to different states and countries. But every time we moved away, we came back to Houston.
I met my husband here. Both my children were born here. We plan to move away when we become empty nesters, but Houston will always have a special place in my heart. So, my wooden heart proudly displays the city of Houston.
Here’s how to make your wood heart map.
Supplies
- 6-inch wooden heart block
- Acrylic paint – I used FolkArt Cascade Chalk Paint
- Wood stain (I used Early American.)
- 2 Foam brushes
- Road map – city of your choice
- Pencil
- Scissors
- Mod Podge
- Wooden ‘Home’ cut out
Making Your Home Map Wood Heart Block
Step 1: Gather your supplies.
All the supplies can be found at a local craft store. If you don’t like the stain selection, there’s probably a home improvement store across the street from your local craft store – at least, that’s how it is around here.
If you live in a tourist area, you may be able to find a free road map at your local visitor’s center. My son has sticky fingers for free tourist brochures; I’m pretty sure he picked up the Texas map I used at a visitor center during our last trip to the Texas Hill Country.
I also used the map to make my son’s READ wood sign for his room.
No visitor’s center? No problem! Check out your local Goodwill for a $1 roadmap, or if you are fine with splurging on one, visit Amazon. With a quick search, I found a few for $8.
Tip: You might want to avoid street maps and stick to regional or state maps if you want the whole city to fit your heart. Use a street map if you want to show the location of your home with a heart or dot.
Step 2: Stain your wooden heart.
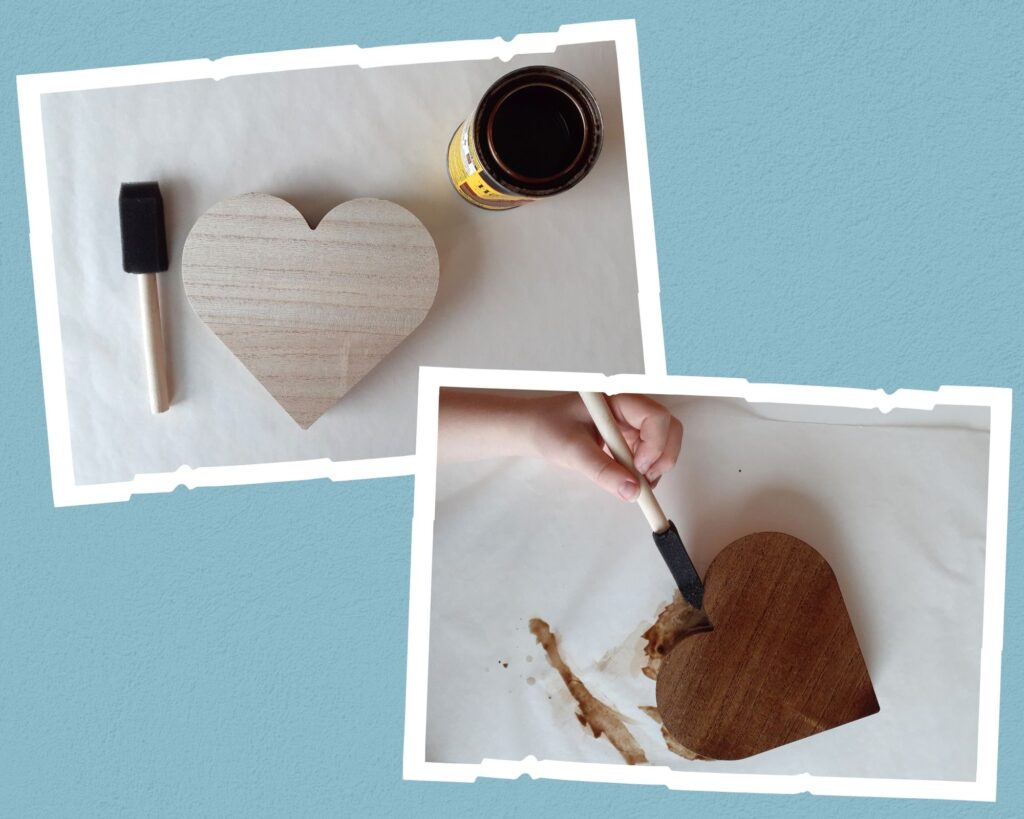
My daughter jumped in for a chunk of this project. She loves crafting too. She used the foam brush to add the stain on the wooden heart with even strokes. I let the stain sit for a few minutes and soak it into the wood before wiping the excess off with a paper towel.
We should have used gloves. Our fingers were a little oily and sticky afterward. (I didn’t realize I was out of them until we started.)
Leave the wood heart to dry. Since Houston is humid this time of year (who am I kidding, it’s humid all. the. time.) I left it to dry for 4 or 5 hours.
Step 3: Trace your heart on the map.
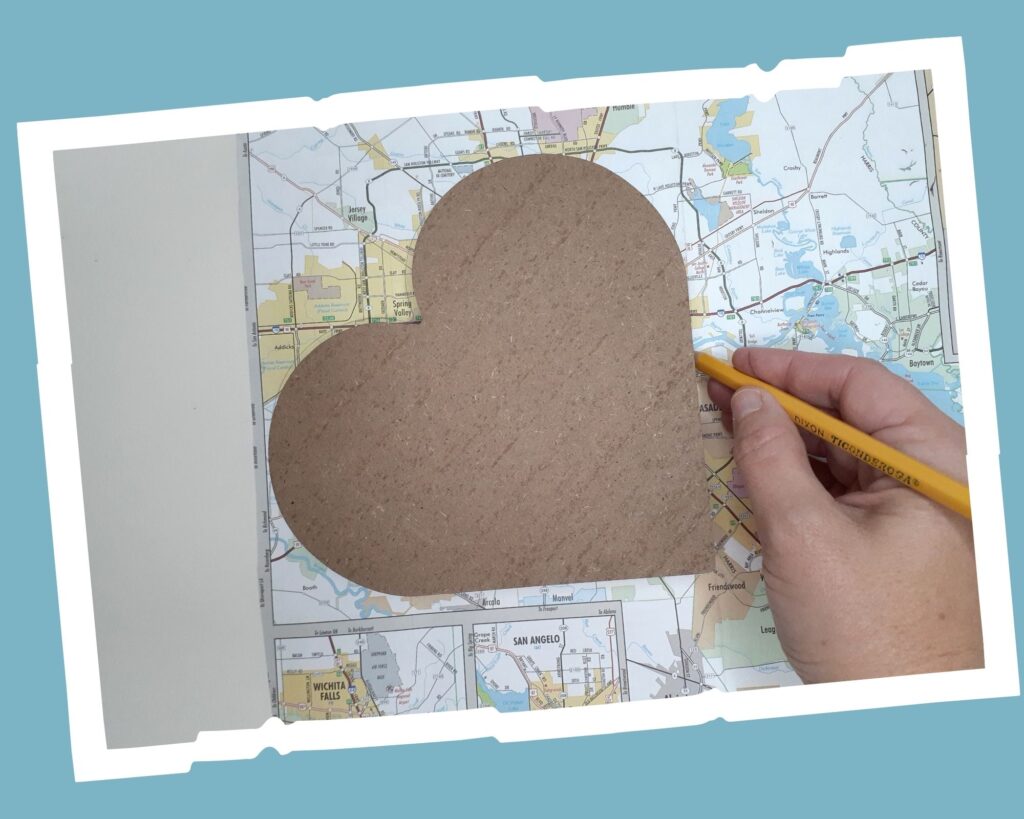
Place your wooden heart on top of your map. But be sure the side you want to glue the map to is facing up. You want to line up the heart over the area you want on the heart and ensure everything you want to include will fit.
With the wood heart facing up and laying on top of the map area you want to cut out, trace around the heart with a pencil making the line dark enough to see amongst the winding street lines.
Step 4: Cut out and trim your heart.
After you trace the heart, set the wooden heart aside. Time to look at everything inside the pencil heart drawn on the map. Is it all there? Is everything you want to include inside the pencil heart? Most importantly, be sure all the words are the map are upright. I almost ended up with an upside map on my heart. Thankfully I noticed before I started cutting!
Cut out the heart map. I wanted a little wood to frame the map, so I cut it inside the pencil line. Next, I folded the heart in half and trimmed the edges so they were even. Lay the heart-shaped map on the wooden heart, and be sure it looks how you want. If not, keep trimming!
Step 5: Glue your map heart onto your wooden heart.
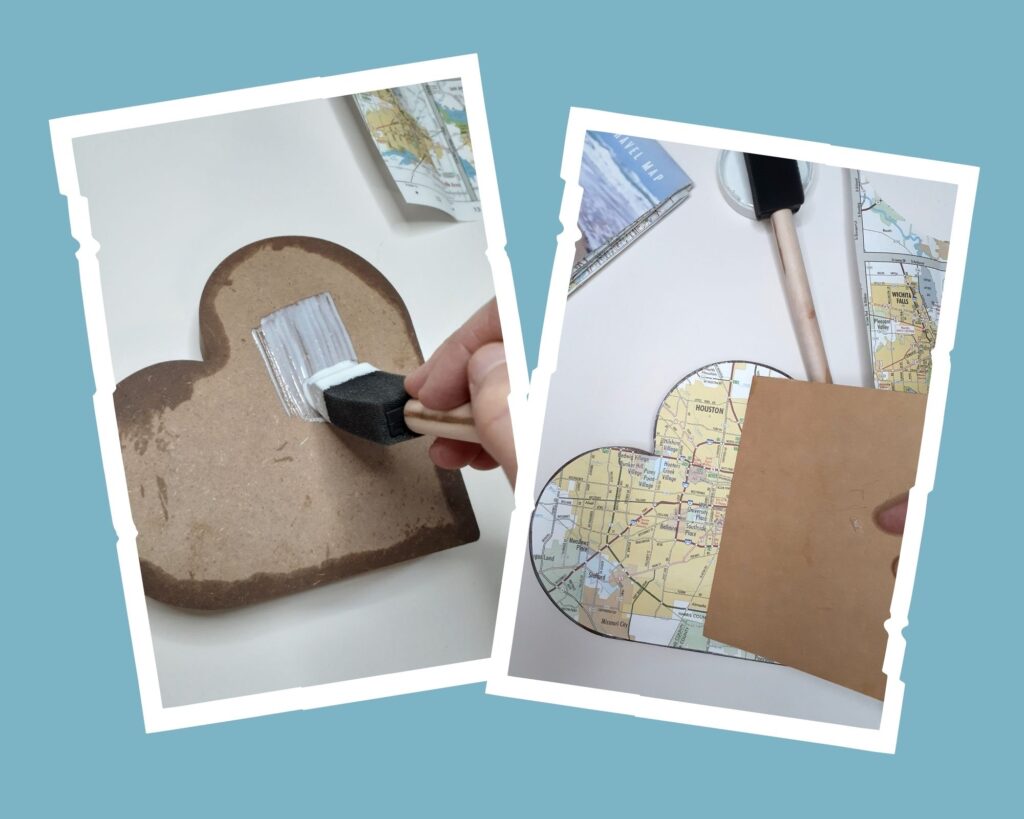
Now it’s time to glue it on! Pull out the Mod Podge or whatever craft glue you use (who doesn’t use Mod Podge???) and brush it on the surface of the wooden heart. Using a credit card or piece of cardboard, work out any bubbles as you lay the heart-shaped map on the glue.
Next, let it dry!
Step 6: Paint the wooden ‘Home’ cut out.
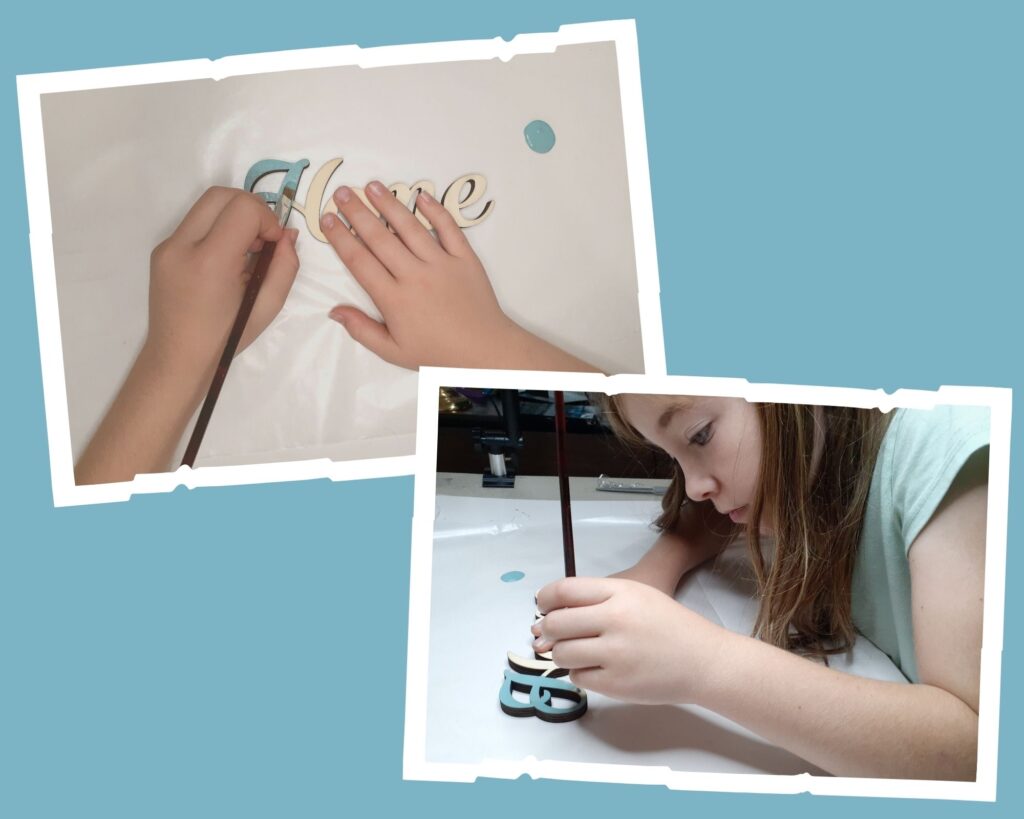
I used FolkArt Cascade Chalk Paint to paint the ‘Home’ wooden cutout.
Excuse me, I mean, my daughter used the paint. She insists that I specify that. But I did end up using the same paint around the edge of the wooden heart. I forgot to take a picture – I’m sorry!
Step 7: Glue the wooden ‘Home’ cut out to your wooden heart.
After the wooden heart and ‘Home’ cut-out are dry, it’s time to glue the cut-out to the front of the heart. I used Mod Podge for this too.
Your finished product can be used as a bookend or shelf sitter. Better yet, make one as a gift!
