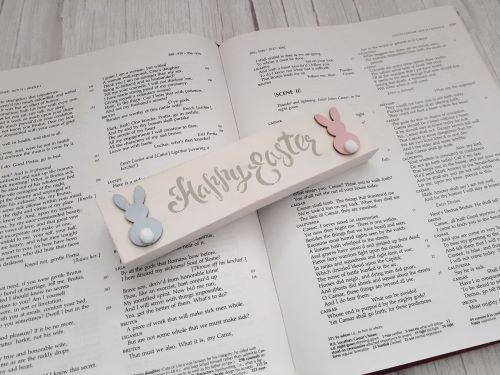
How to Make a Mini Wood Easter Sign
I love whipping up quick mini wood signs to decorate for the holidays. I’ll show you have I made this cute mini wood Easter sign for my kitchen counter. It was the perfect addition to the little Easter tray decorating the corner of my kitchen island and only took about 15 minutes to make.
Let’s try it.
One thing I didn’t like about my kitchen when we bought our house a few years ago was the very large island. It’s laid out in an ‘L’ shape. But the granite slab is so big that the corner of the ‘L’ has a huge surface area. Sure, it gives us a lot of room for seating. But there is an empty and useless space in the middle of the countertop.
When we moved in, I created a fake terrarium as decoration for this useless spot. But that was almost four years ago – I need to change it up!
A few weeks ago I found this cute white plant tray at Hobby Lobby and decided to create an Easter setup for the countertop.
It’s a work in progress, but this is what I have so far:
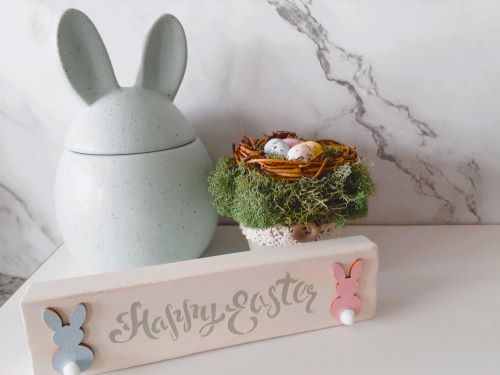
I added a little bunny cookie jar (also from Hobby Lobby) and a few LED candles from a Christmas centerpiece I purchased a few years back. (if you haven’t noticed, I’m a Hobby Lobby junkie. 😊)
It was missing something though, so I made this cute mini wood Easter sign with rabbits and a small bird’s nest.
Today, I’ll show you how to make your own mini wood Easter sign. It’s quick and easy.
First, you will need:
Supplies:
- A 6.5-inch-long
- wood block (I cut my own from wood scraps, but you can find this pre-cut on Amazon)
- 2 (1.25 inch tall) laser-cut mini rabbits
- Mini white pompoms
- Happy Easter stencil
- Chalk paint in four colors (I used Waverly Celery Green, Sheep’s Skin, Vintage Victorian, and Summer Porch.)
- Mini stipple sponge or a foam makeup wedge (I prefer the makeup wedge but ran out.)
- Craft glue
How to Make a Mini Wood Easter Sign
I cut my scrap wood down to 6.5 inches long and painted it in the sheep’s skin white. After it dried, I roughed it up a bit when a piece of sandpaper, but you can skip this step if you wish.
Next, use the mini stipple sponge to stencil ‘Happy Easter’ across the wood using a second paint color – I used celery green. I love using the adhesive stencils – they don’t slide around while I work. And they are easy to clean up. (Ignore the fact that I forgot to clean up the last time I used it. Oops!)
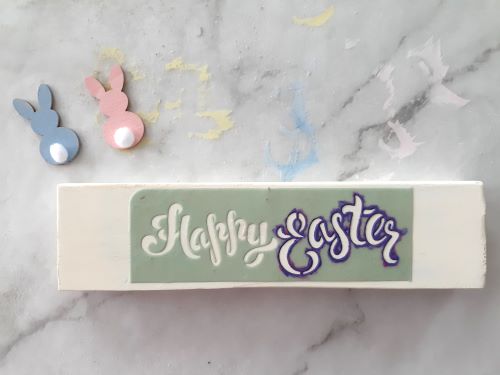
Paint your mini wood laser-cut rabbits. After they dry, use a little craft glue to plant the pompom tails. I love how the pompoms add a little 3-D effect to the sign.
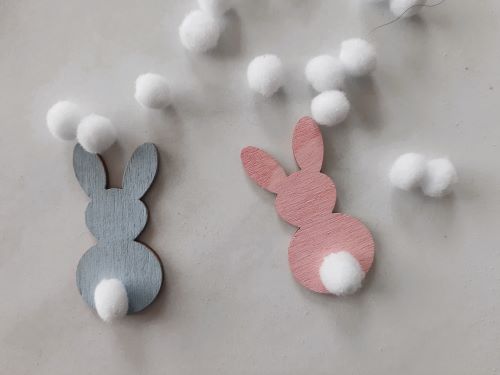
Don’t forget to glue your bunnies on either side of your wood sign using craft glue. I prefer Aleene’s Original Tacky Glue. It’s great for wood and paper. It’s also easy to clean up with water which, considering my clumsiness, is a great thing!
Look how cute this is!
